Adding an official membership introduction and public contact information.
Adding your organization’s official membership introduction and public contact information for membership purchases are necessary for setting up the platform’s Membership module. Follow the steps below to add or edit this information:
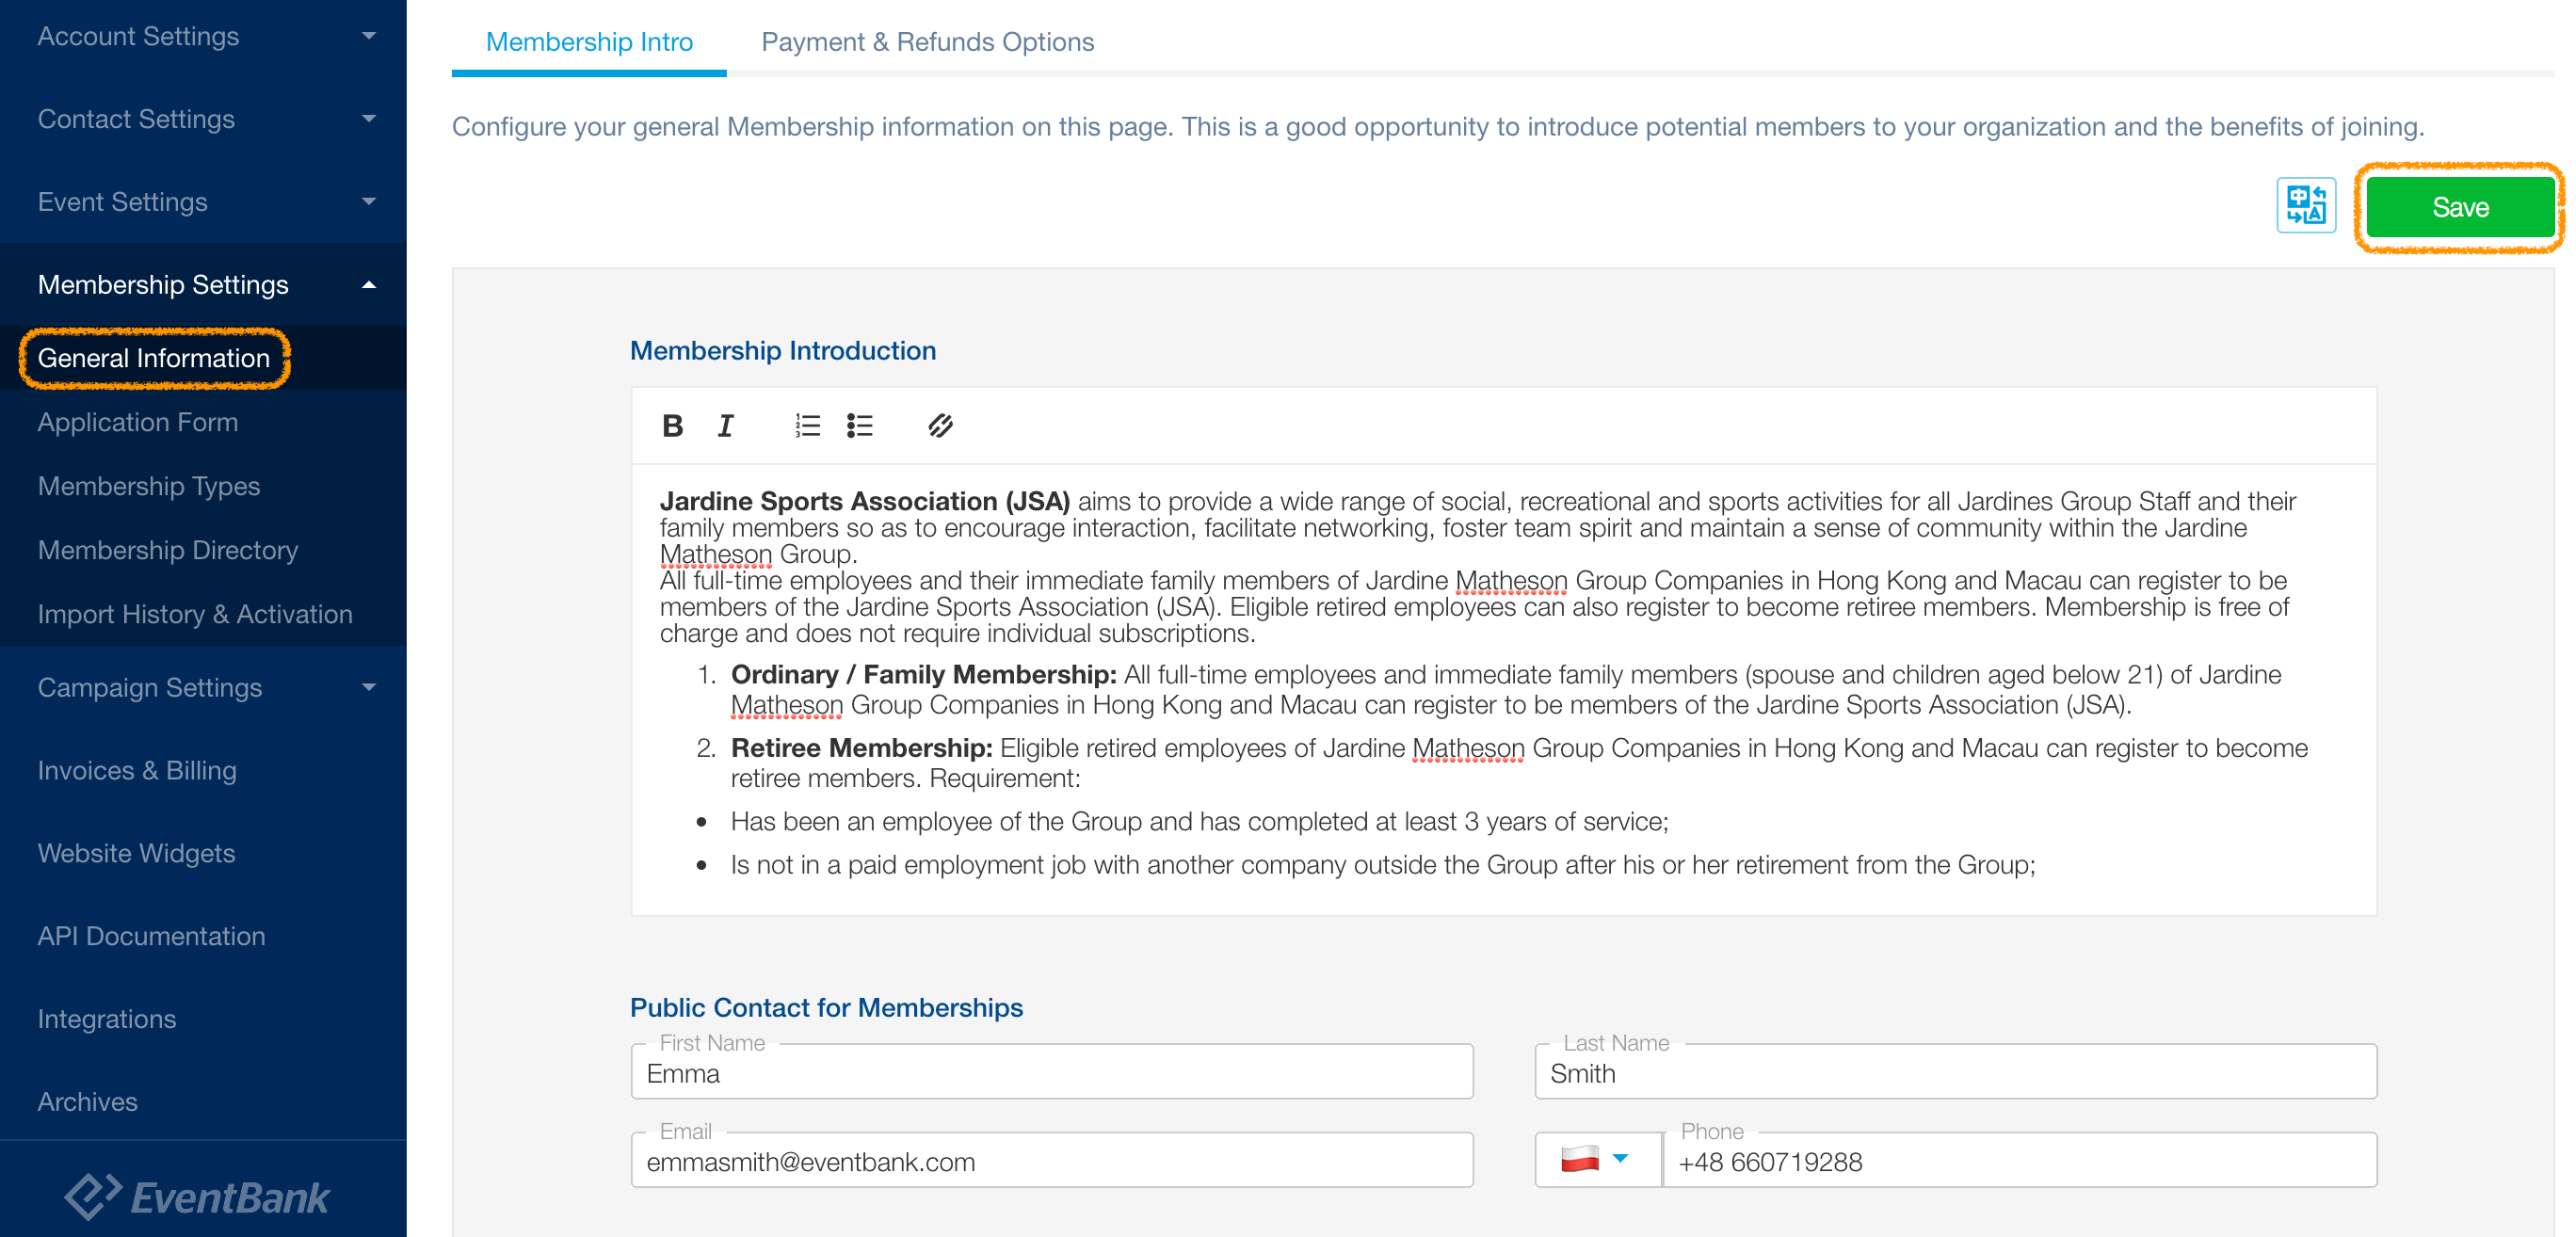
Click the Gear icon located in the platform’s top navigation bar to open the Organization Settings dropdown. In the dropdown’s Membership Settings column, click General Information.
In the Introduction subsection of General Information, add or edit any important information about your membership program, such as membership conditions or the benefits or joining your organization as a member. This information will be displayed on your organization’s public Glue Up homepage.
Go to the Public Contact subsection of General Information to add or edit any information for your membership program’s public contact person. These contact details will appear in the system emails sent to members for membership status notification as well as on the screen during the application process. This contact person will be displayed as the primary contact point for inquiries regarding your organization’s membership program.
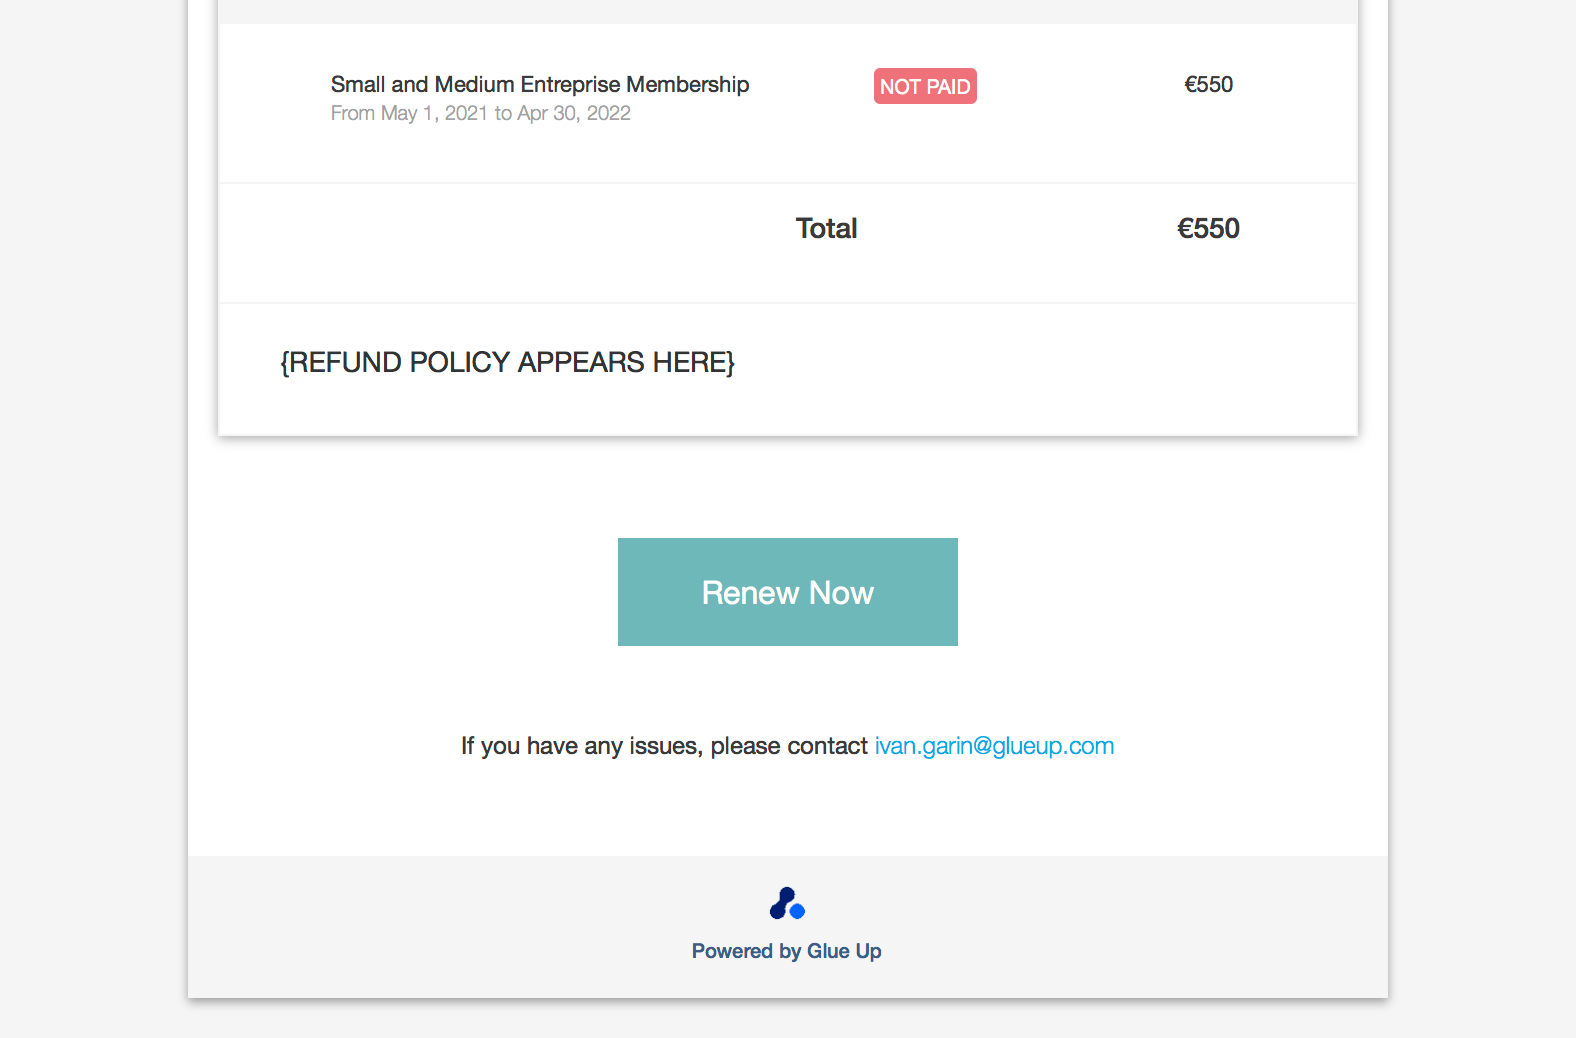
Below is a preview of where the contact’s email will appear on system emails sent to members (note that if the member has an owner, then the owner’s email will be appearing instead on the system emails):
Selecting currencies and payment options
You can choose to receive payments in multiple currencies or add payment-specific information regarding your organization’s rules and policies. To do so, go to settings > membership settings > general information > Payments & Refunds Options.
From there you can also add the different payment methods you accept for memberships.
Configuring membership payment options
Click the gear icon located in the platform’s top navigation bar to open the Organization Settings dropdown. In the dropdown’s Membership Settings column, select General Information. Click Payment Options in the left sidebar navigation menu to go to the settings page to configure payment options for all memberships. Select the currencies you want available for memberships, determine available payment methods, and input any text that you would like to include during membership transaction processes.

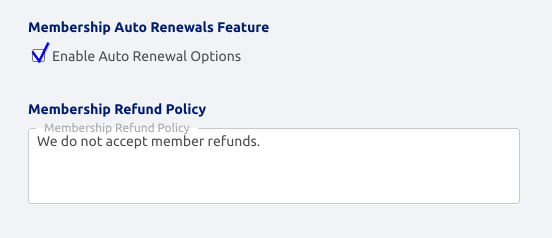
Keep scrolling down and you will find the auto-renewal options. You can enable it for your organization from this section, by simply checking the checkmark. Note that you can choose which membership types offer the auto-renewal option. Find out more on the member recurrent payment, also known as the auto-renewal feature here.
Also, if you wish to indicate a specific refund policy for memberships, this will be displayed on member emails during application and renewal (both featured on desktop, as in email notifications sent before and after payment).
Tip: Offline transactions are not automatically updated in the platform. If you select any offline payment methods, all organization team members must manually mark each completed payment as paid.
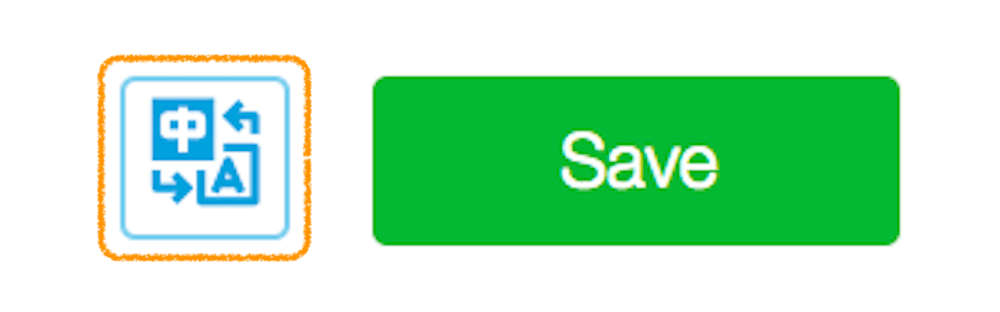
Tip 2: Anywhere you see this icon below on the platform you can translate the content pages – this needs to be translated for each page.