
The Membership Widget is a valuable tool that simplifies the process of member application on Glue Up and enables convenient access directly from your official website. In this article, we’ll dive into the functionalities of this widget and how to adjust it to suit your organization’s needs.
Accessing the Membership Widget
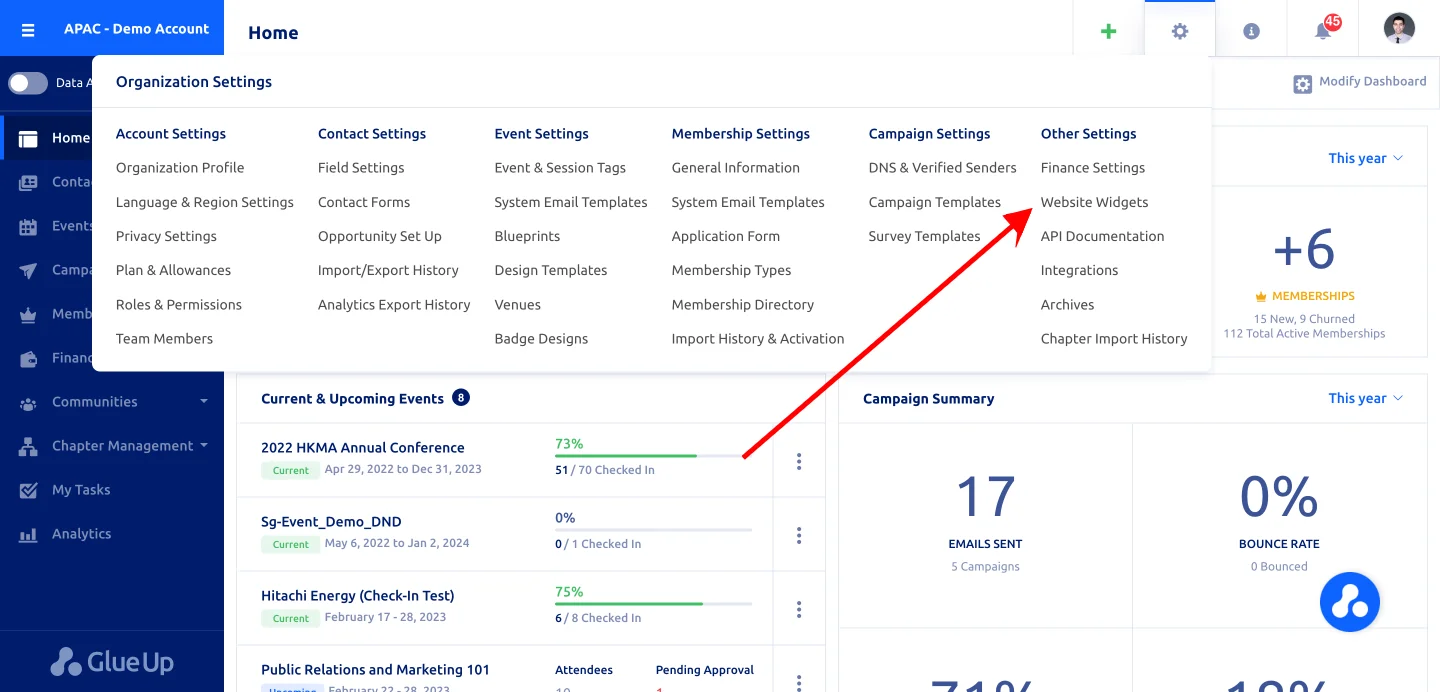
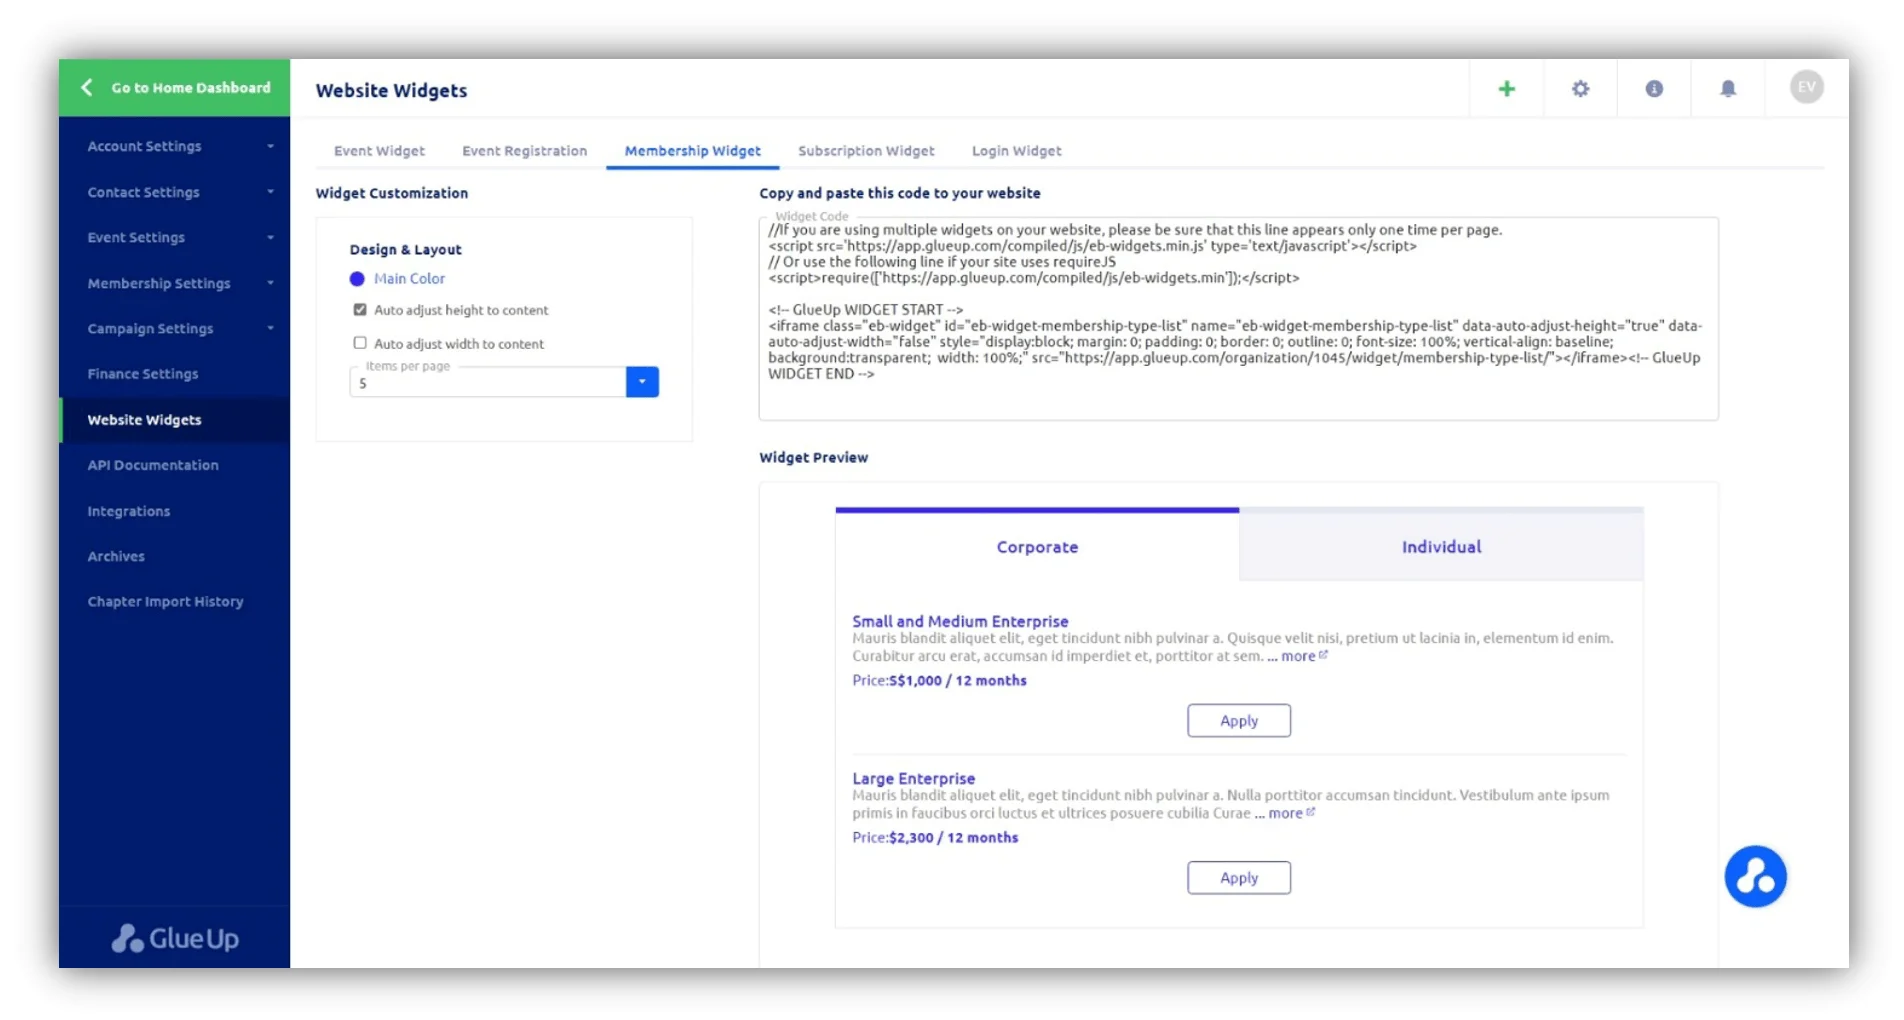
To access the Membership Widget, go to your Organization Settings (⚙️) > Other Settings > Website widgets > Membership Widget. Here, you can adjust the widget to match your branding, and then copy and paste the code above the widget preview into your website.
Features of the Membership Widget
The Membership Widget offers several features to help you customize your widget and improve user experience. Here are some of the available features:
- Change Main Color: You can adjust the main color of the widget to match your corporate branding.
- Auto adjust height to content: The widget will automatically adjust its height to the content, avoiding the need for a scroll bar.
- Auto adjust width to content: The widget will automatically adjust its width based on the length of the membership type description.
- Items per page: The widget will display a fixed number of membership types, usually no more than five. If you have more than five membership types, a link will be added at the bottom of the widget that says “View all (n) memberships”. Clicking this link will redirect the user to your organization’s default Glue Up website.
Displaying Content in the Widget
The content displayed in the widget is based on your membership type settings. The following information will be shown:
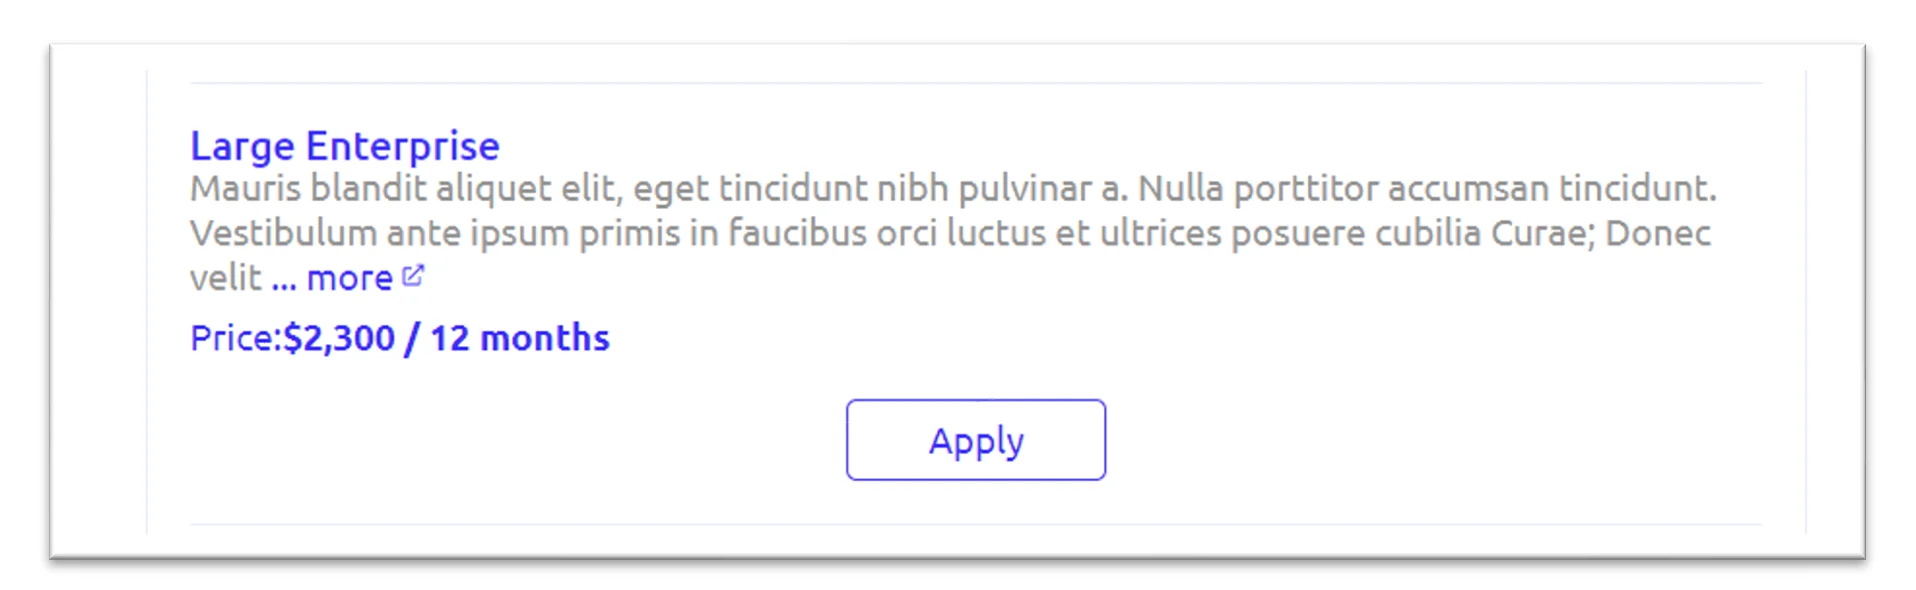
- Membership Type Public Name
- Membership Type Description
- Membership Type Price and Duration
If you only have corporate membership or individual membership, the widget will display the appropriate tab. If you have both, the widget will display two tabs (Corporate and Individual) that you can switch between.
Important Notes
If you are new to Glue Up and have not yet created any membership types, you will not see the Membership Widget preview in the settings until you add at least one public membership type.
Some membership types can be configured as private in membership type settings “General Information”, and they will not be displayed in the widget or on the organization’s default Glue Up website.
It’s important to note that the Membership Widget’s main purpose is to streamline the member application workflow. If you want to display information about existing memberships, consider setting up your own member directory using our API integration add-on feature, or contact sales@glueup.com to purchase a Dedicated Subdomain & API Access if you don’t have one yet.
It’s important to pay attention to the message in the code above the line that says “<!– GlueUp WIDGET START –>” if you’re using multiple widgets on the same page. This message is there to remind you that you should only include that line of code once per page.
The following code should also be included to properly integrate the widget:
<script src='https://app.glueup.com/compiled/js/eb-widgets.min.js' type='text/javascript'></script>Or, if your site uses requireJS, you can use this code instead:
<script>require(['https://app.glueup.com/compiled/js/eb-widgets.min']);</script>
By following these guidelines, you can ensure that your widgets will work properly and that your website will function smoothly for your users.
After any changes are applied by the admin, the code above the widget will automatically adjust. From there, all you need to do is copy and paste it into your website, and you’re ready to go!
If you have any questions or concerns, don’t hesitate to reach out to Glue Up’s support team at support@glueup.com for further assistance.