Introduction
Event tickets are an essential part of any event management process. The Glue Up platform makes it easy for you to create and manage event tickets efficiently. In this guide, we walk you through the step-by-step process of creating event tickets using the Glue Up platform.
Step 1: Select Ticket Type
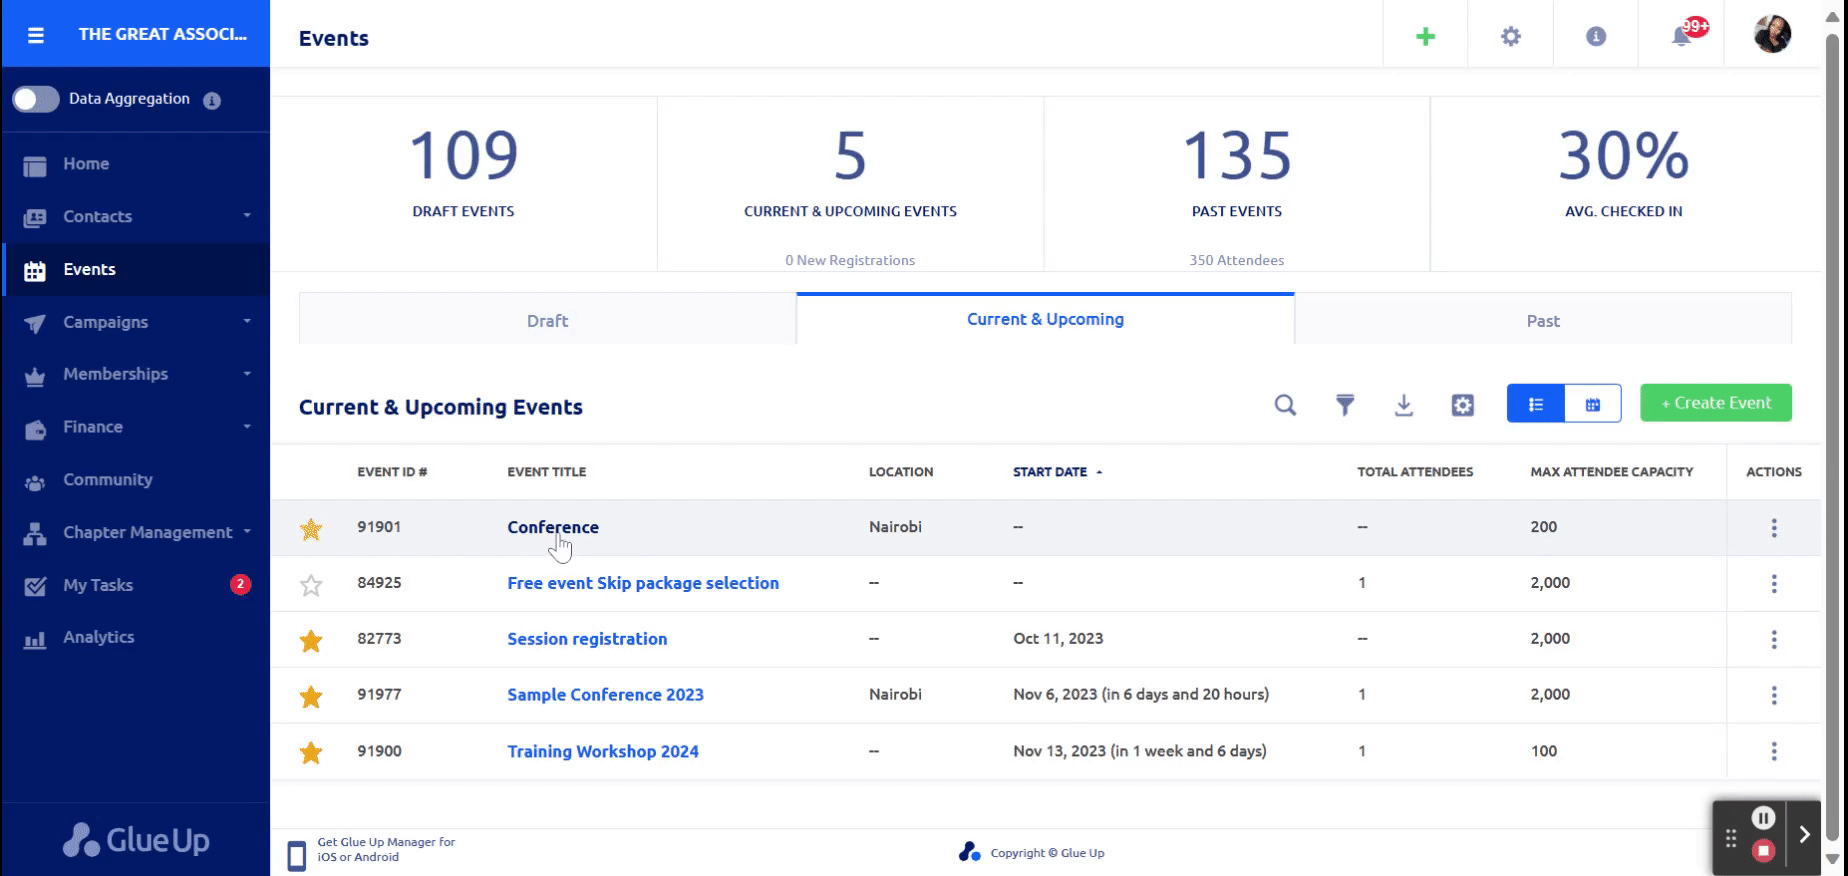
Login to your Glue Up account and access the event you wish to create tickets for.
Click on the “Tickets and discount” section of your event ticket.
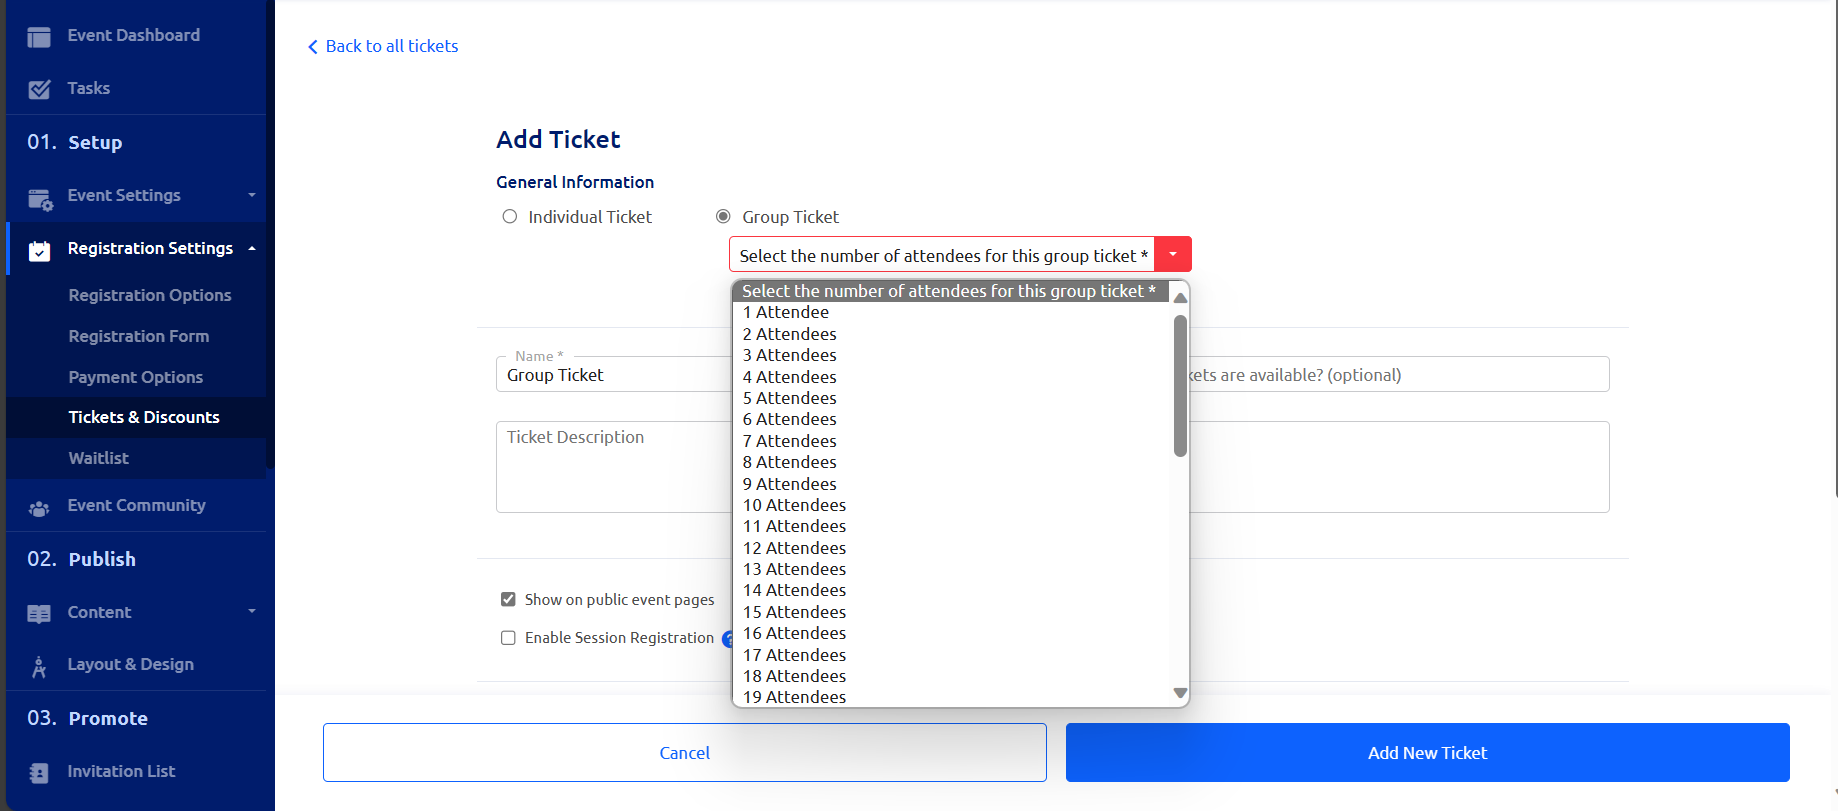
Choose whether you are creating an individual ticket or a group ticket. Individual tickets are for single attendees, while group tickets allow multiple people to register together.
Step 2: Group Ticket Details
If you select a group ticket, specify the number of attendees that will be covered by the group ticket. This can be adjusted based on your event’s needs.
Step 3: Ticket Description
Enter a clear and concise ticket description. This description will help attendees understand the benefits and features of the ticket they are purchasing.
Step 4: Show on Public Event Pages
Decide whether you want to display the ticket on public event pages. This is crucial for promoting your event and selling tickets to a wider audience.

Step 5: Event Session Registration
If your event includes multiple sessions, Glue Up offers the option for attendees to register for specific sessions within the event. This feature allows you to offer a more customized and flexible experience to your attendees. Learn more about managing event sessions and registrations here.

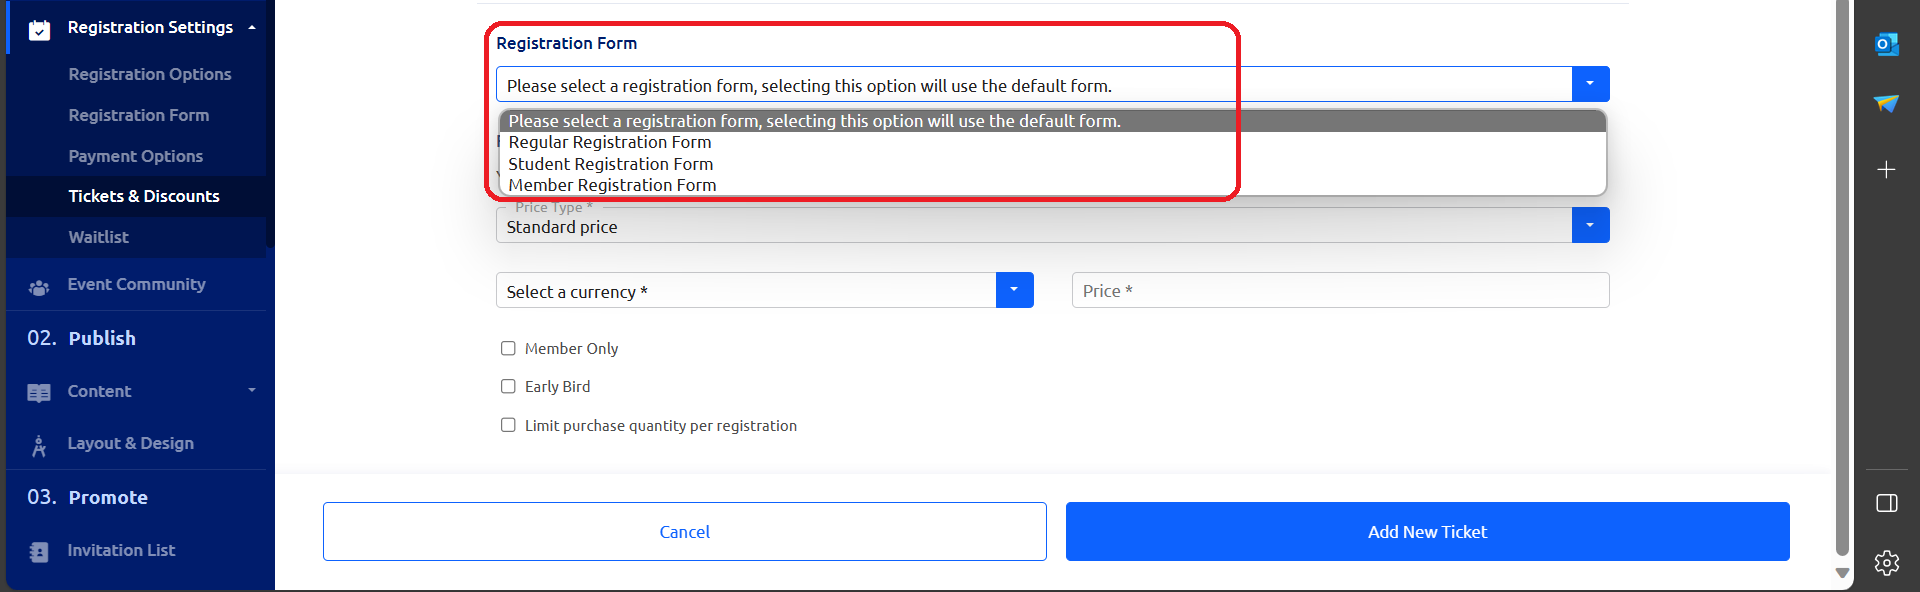
Step 6: Link Ticket to a Registration Form
Select or create a registration form that corresponds to the ticket type. This form will collect necessary information from attendees during the registration process.
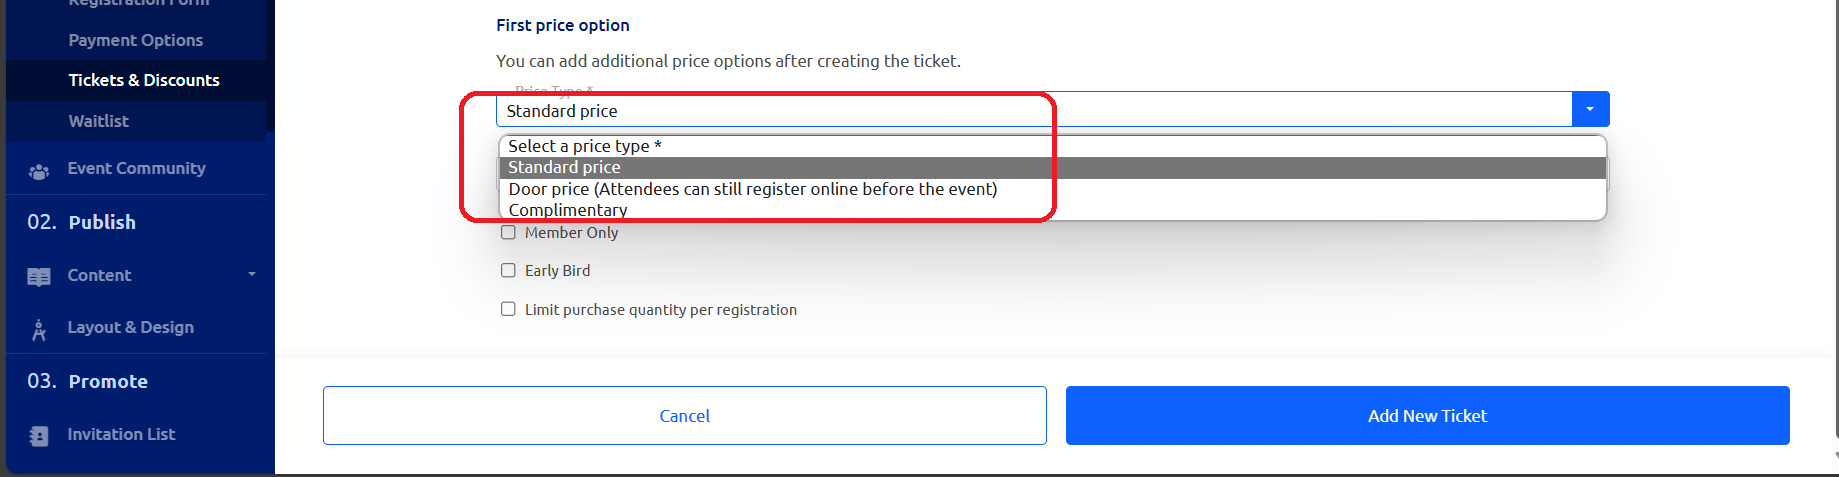
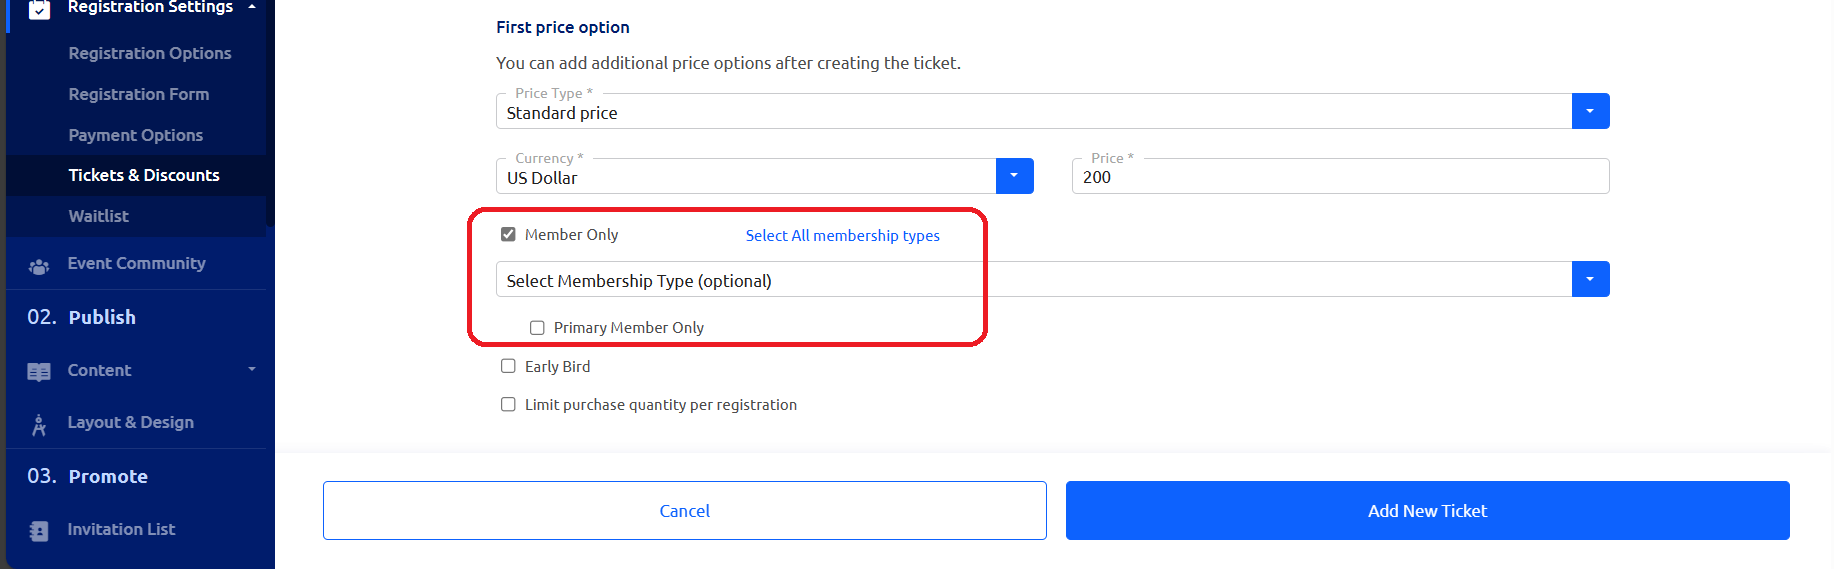
Step 7: Price Type
Choose the price type for the ticket, such as” Standard price, Door price (Attendees can still register online before the event), and Complimentary. This defines the payment method for the ticket.
Step 8: Currency and Price
Select the currency in which you want to sell the tickets and enter the ticket price. Be sure to set a price that reflects the value of the ticket and covers any associated costs.
Step 9: Member-Only Option
You have the option to restrict the ticket to members only. This can be useful for events or tickets targeted for Members only. You have ability to restrict a ticket to certain membership types, primary members only or all memberships in your organization.
Step 10: Early Bird Tickets
If you wish to offer early bird tickets, select the appropriate option and set the expiry date for early bird registrations. Early bird tickets are often offered at a reduced price for a limited time.

Step 11: Purchase Quantity Limits
Limit the purchase quantity per registration. You can indicate the minimum and maximum number of tickets that can be bought by a single registrant. This helps in managing group registrations and prevents over-purchasing.

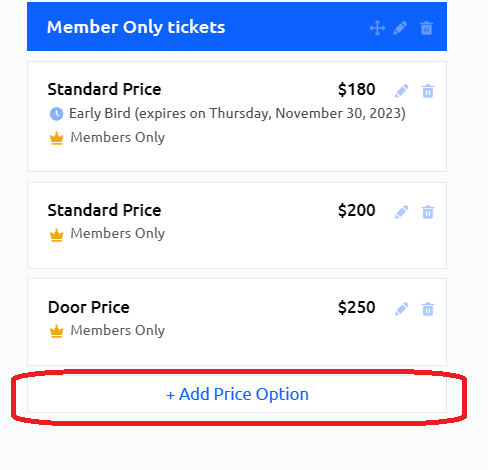
Step 12: Add Price Option
To provide different pricing options for your event ticket, you can create multiple pricing options. Click on the “Add Pricing Options” button, and you can set various prices or packages for your event ticket. This is particularly useful if you want to offer tiered pricing or special promotions.
Go here, for more information on how to create Event discounts codes for your tickets.