Domains & Sender Emails
The Glue Up platform lets you add the domain name and corresponding email addresses. When creating the email campaign, you can select the verified sender email that will be listed in the “From:” section of your email.
Adding and verifying domain name
Click the double-gear icon located in the platform’s top navigation bar to open the Organization Settings dropdown. In the dropdown’s Campaigns Settings column, click Domain Name & Sender Emails. Before adding a sender email address, you need to add the domain name to generate the DNS code directly in the platform. To learn more about the DNS configuration, please click here.

Your own Domain
- To receive the DNS code for your organization’s email address, please click the + Add Domain button.
- In the Domain Selection pop-up window, please select “Use my organization’s email domain” option and enter your email address’s domain name and click Generate Domain.
- Now the domain name’s DNS code has been generated, and you can add the codes in your email domain name management platform’s dashboard, such as GoDaddy, GSuite and etc. to complete the Authentication.
- When you add the codes in your own domain management dashboard, please click the Authenticate link in the Status column to verify whether your codes have been successfully added.
Glue Up Domain
If your organization does not have the unique domain name email address, Glue Up provides with the Glue Up subdomain email address such as username@username.glueupmail.com
- To add the Glue Up Domain Email address, please click the +Add Domain button.
- In the Domain Selection pop-up window, please select the option “Use a customized Glue Up email domain” and enter any desired prefix to be used as your sender email address’s domain name.
- After you add the domain prefix, the authentication will be completed automatically, and it may take up to 48 hours to be successfully verified.

Managing a Sender Domain
You can manage a sender domain by clicking a three dots icon related to an individual sender domain. Available options include:
- View DNS code: This will show you the DNS code of the domain name. Note that this option is only available for the domain name has not yet verified.
- Delete: This will delete the domain name and all the sender email addresses associated with this domain name.
Adding and verifying the sender email address
When the domain name authentication is completed, you can now add the sender emails.
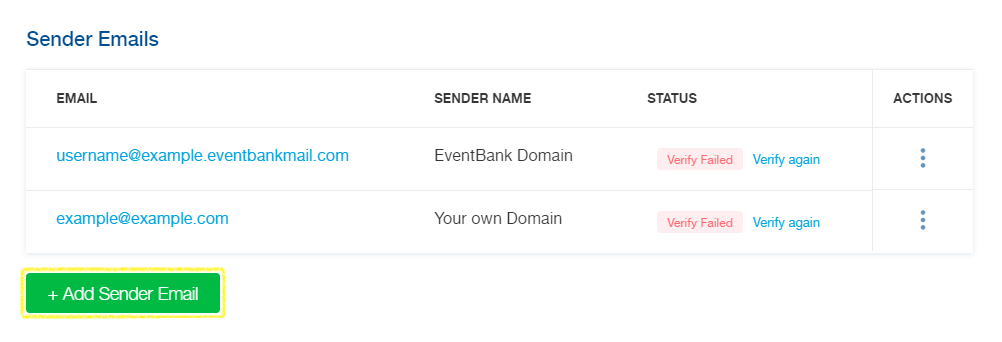
To add a sender email address, please click the +Add Sender Email button. In the Add Sender Email pop-up window, you can enter the Email, and select the verified Domain name from the drop-down menu. Also, you can enter the Sender Name which will appear in your recipient’s inbox as the sender email address’s Sender Name.
Managing a sender email address
You can manage sender emails by clicking the three dots icon related to an individual address. Available options include:
- Edit: This allows you to edit the Sender Name of the sender email address.
- Delete: This will delete the sender email address from the platform.