Introduction
Discount codes are a powerful tool for event organizers using the Glue Up platform to attract more attendees and boost event registration. In this helpdesk article, we will walk you through the steps to create a discount code in the Events module of the Glue Up platform. With this feature, you can offer special discounts to your audience and customize the code to suit your needs.
Step 1: Entering the Discount Name
- Log in to your Glue Up account and navigate to the “Events” module.
- Find the event for which you want to create a discount code and click on it to open the event details.
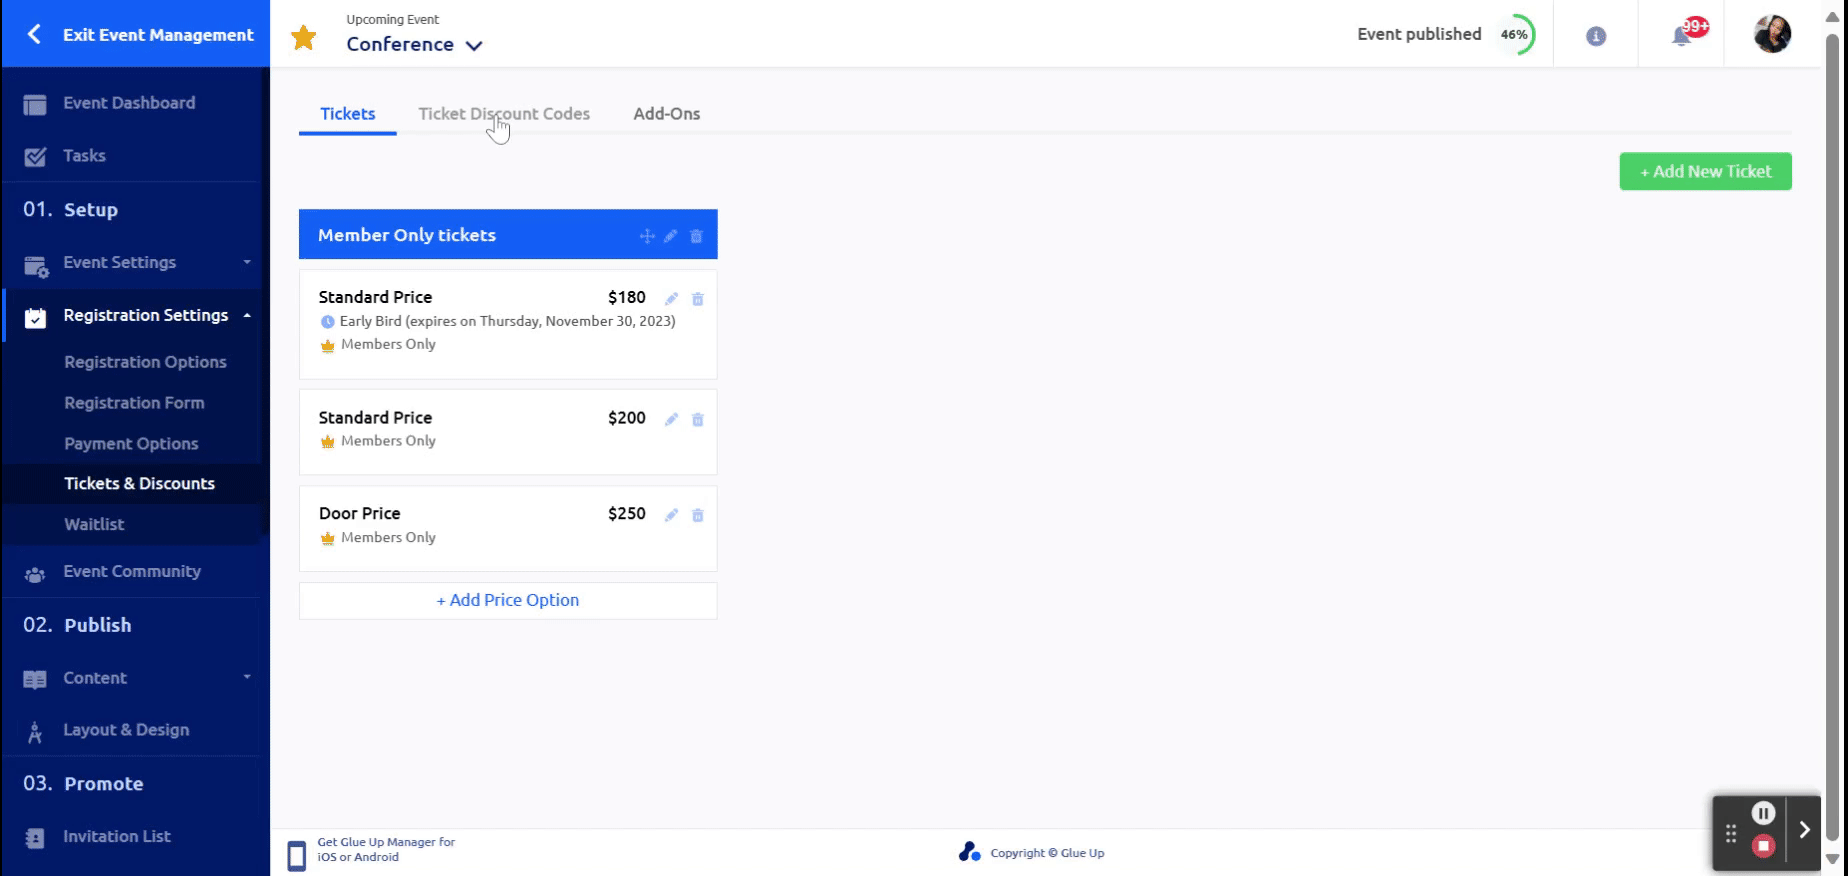
- In the Tickets & Discounts section, click on the ” Ticket Discount codes” tab.
- Next, click on the “Add Discount” button.
You will be prompted to enter a discount name. Choose a name that is meaningful and relevant to the discount you are offering. This name will be displayed to your attendees during the registration process, so make it clear and easy to understand.
Step 2: Generating the Discount Code
The discount code is automatically generated by the system once you enter the discount name. You don’t need to create a code manually; Glue Up takes care of this for you. The generated code will be unique to the discount you are creating.
Step 3: Selecting the Discount Type
After the discount code is generated, you will be asked to select the discount type.
You have two options: Percentage Discount or Fixed Amount Discount.
- Percentage Discount: This type allows you to specify a percentage by which the ticket price will be reduced. For example, you can set a 10% discount, and the system will automatically calculate the discount amount for each ticket.
- Fixed Amount Discount: With this option, you can specify a fixed amount to be deducted from the ticket price. For instance, you can set a $20 discount, and this amount will be applied to each eligible ticket.
Step 4: Additional Settings
Once you’ve chosen the discount type, you can further customize your discount by adjusting additional settings. These settings are not mandatory but can help you fine-tune your discount offer.
- Limit Duration: You can set an expiration date for the discount. This means that the code will only be valid until the specified date. After that, it will no longer work for registration.
- Limit Number of Uses: You can restrict the number of times a discount code can be used. For instance, you may want to offer a limited number of discounted tickets to the first 50 registrants.
- Limit Ticket Types: If your event has multiple ticket types (e.g., VIP, General Admission), you can choose to apply the discount code only to specific ticket types. This allows you to target your discounts more effectively.
Step 5: Save and Apply
After configuring all the settings according to your needs, click the “Add” button to save your discount.
The discount code is now ready to be shared with your audience. When attendees register for your event, they can enter the code during the registration process to receive the specified discount.
Go here, to learn more on how to create Event tickets.