Introduction
Surveys are an invaluable tool for collecting feedback, opinions, and insights from your audience. In this step-by-step guide, we’ll walk you through the process of creating surveys on the Glue Up platform to gather valuable information from your contacts, subscribers, members, or team members.
Important;
- The default survey allowance is 5 per contract
- Survey campaigns use your email allowance
Step 1: Access the Survey Module
To get started, log in to your Glue Up account and navigate to the Survey module. Here, you can choose to either edit an existing draft survey or create a new one from scratch. Fill out the survey title, add an optional description and select the survey type.
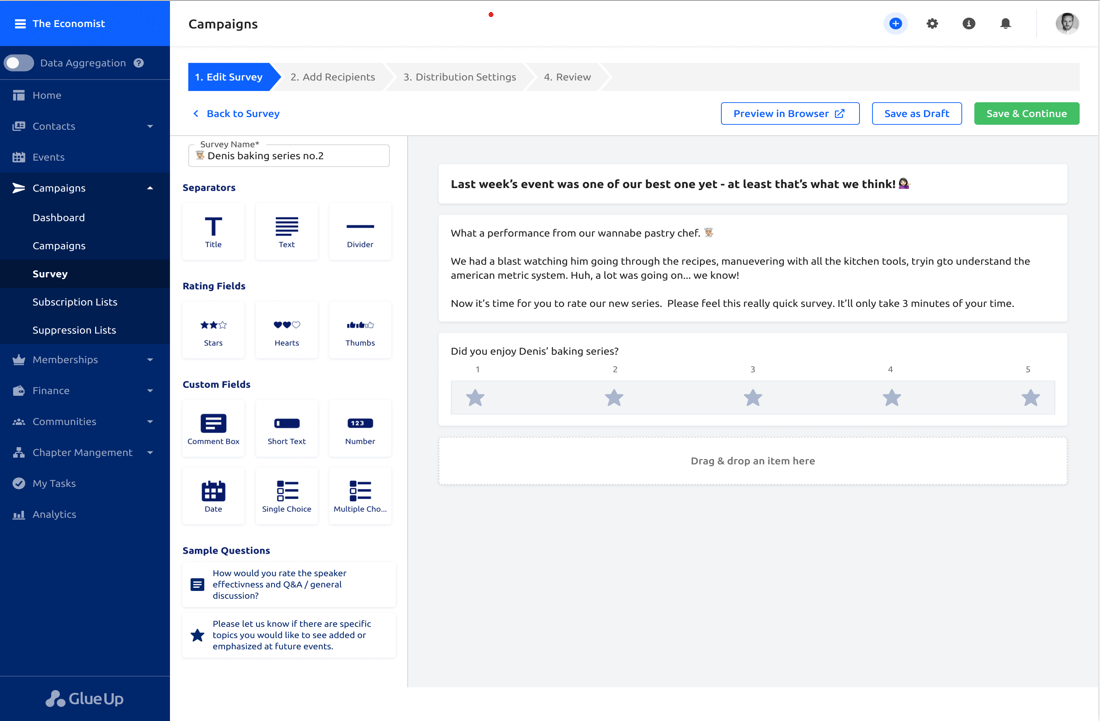
Step 2: Add Survey Content
Once you’ve selected the option to create a new survey, it’s time to add your survey content. Glue Up offers various question types and customization options, making it easy to tailor your survey to your specific needs. Here’s how to do it:
- Survey Title and Description: You can use Glue Up’s AI-powered tools to generate a compelling survey title and description. These elements play a crucial role in enticing respondents to participate.
- Question Types: Glue Up supports a wide range of question types, including customizable rating fields, single and multiple-choice questions, short text responses, and comment boxes. You can add these question types to your survey as needed.
- Sample Questions: Glue Up also provides a set of sample questions to help you get started. You can customize these questions, move them around, make them mandatory, and preview how they will appear to respondents.
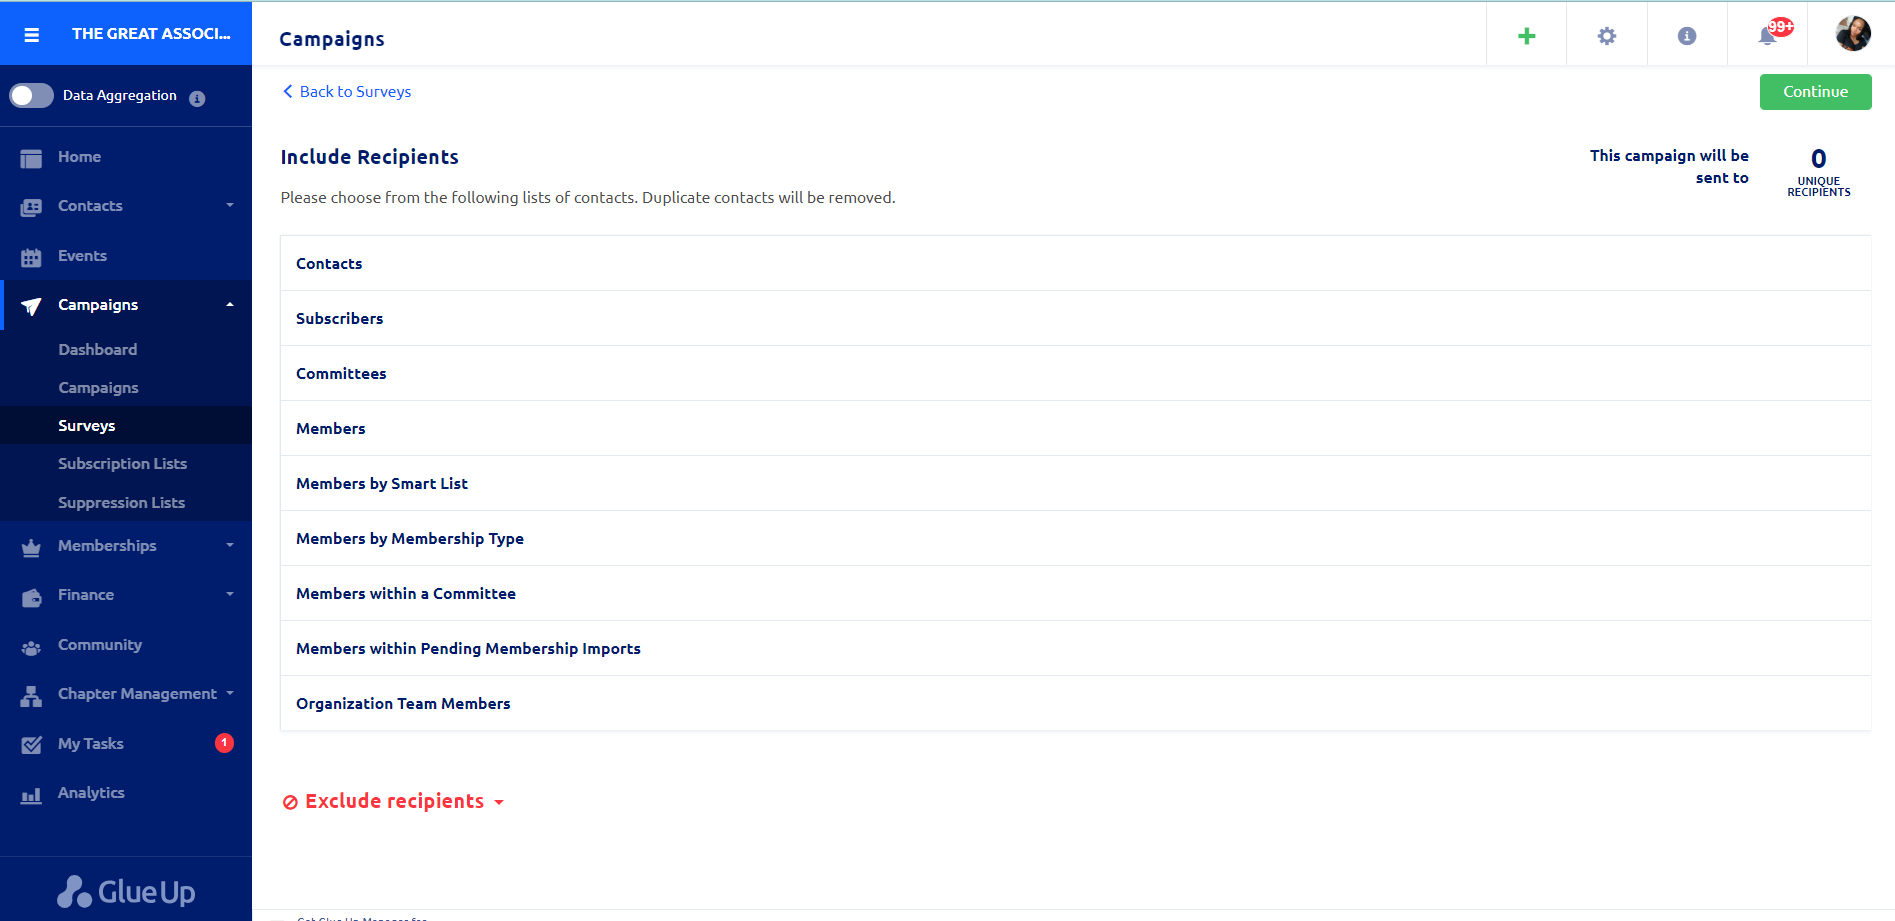
Step 3: Add Recipients
Now that your survey is ready, it’s time to decide who will receive it. Glue Up allows you to send surveys to various groups, including contacts, subscribers, members, committee lists, or team members. You can select your target audience based on your organization’s specific needs.
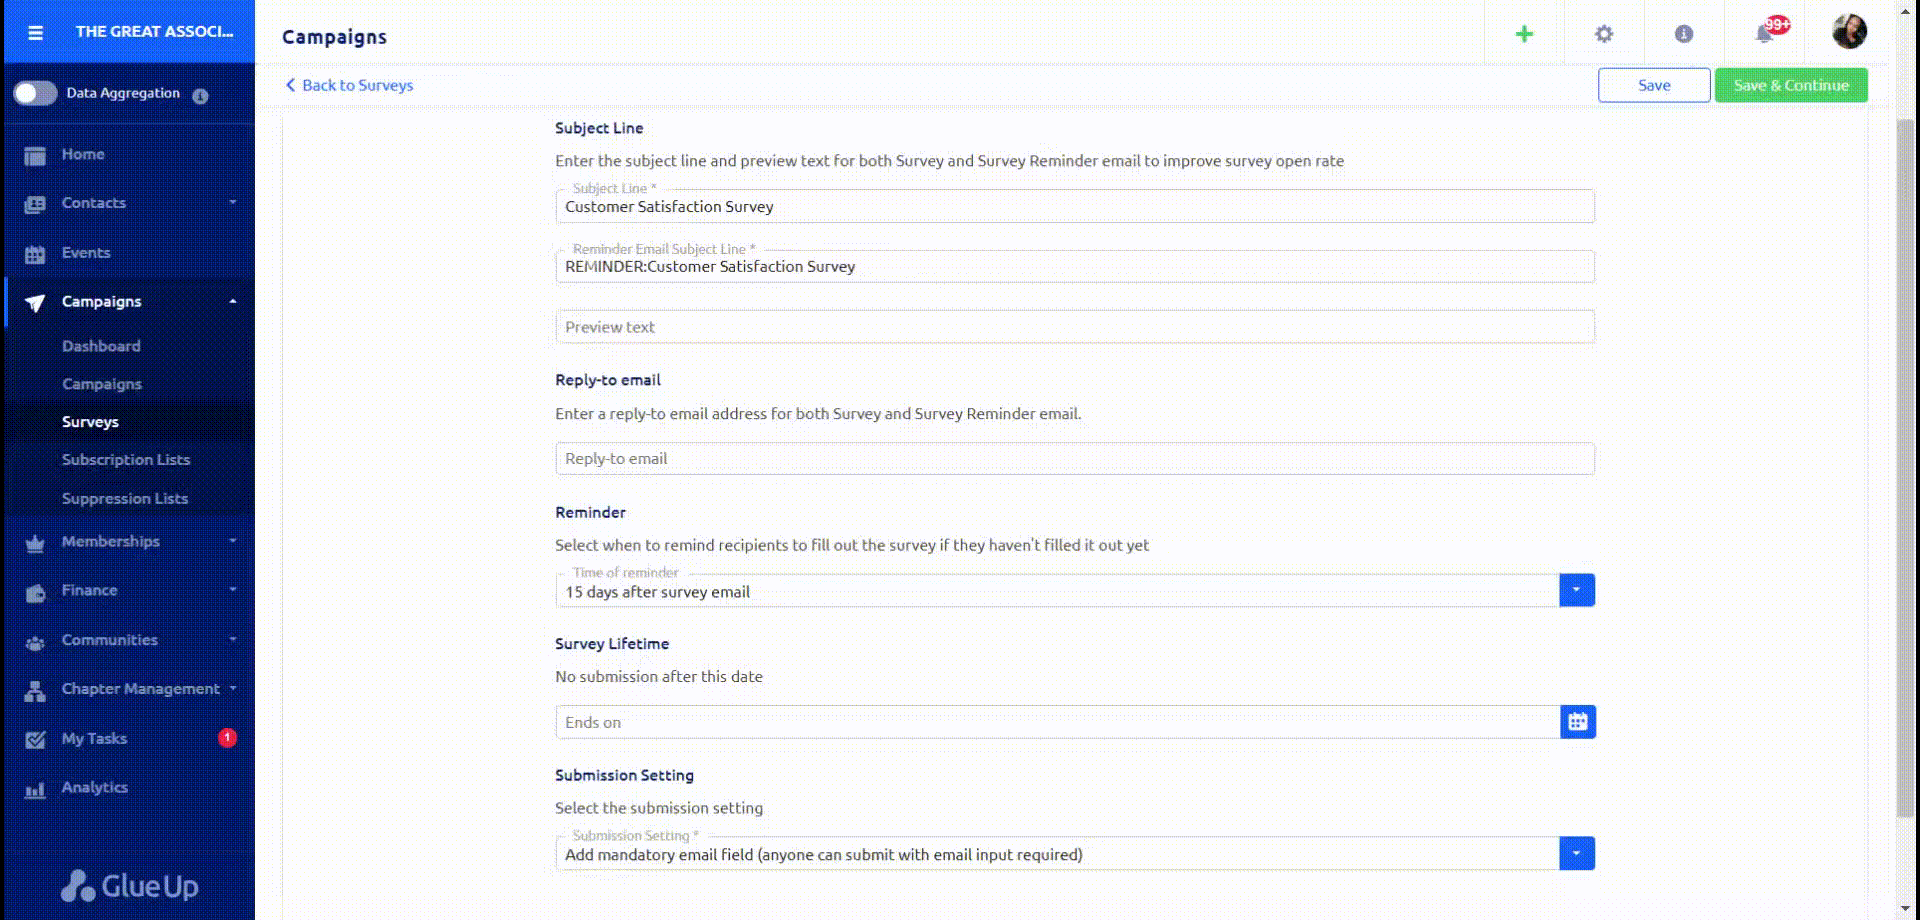
Step 4: Distribution Settings
Before sending out your survey, you need to configure its distribution settings to ensure it reaches your audience effectively. Here’s what you’ll need to do:
- Survey Title: Enter a clear and descriptive title for your survey, which will be visible to recipients.
- Preview Text: Provide a brief overview or teaser text that appears alongside the survey title to entice respondents.
- Reply-To Email: Set the email address to which respondents’ replies and feedback will be directed.
- Reminder: Decide whether you want to schedule reminders to encourage participation among your audience.
- Survey Timeline: Specify the start and end dates for your survey, ensuring it’s available for responses during the desired timeframe.
- Anonymity: Choose whether the survey will be anonymous or not, depending on your data collection preferences.
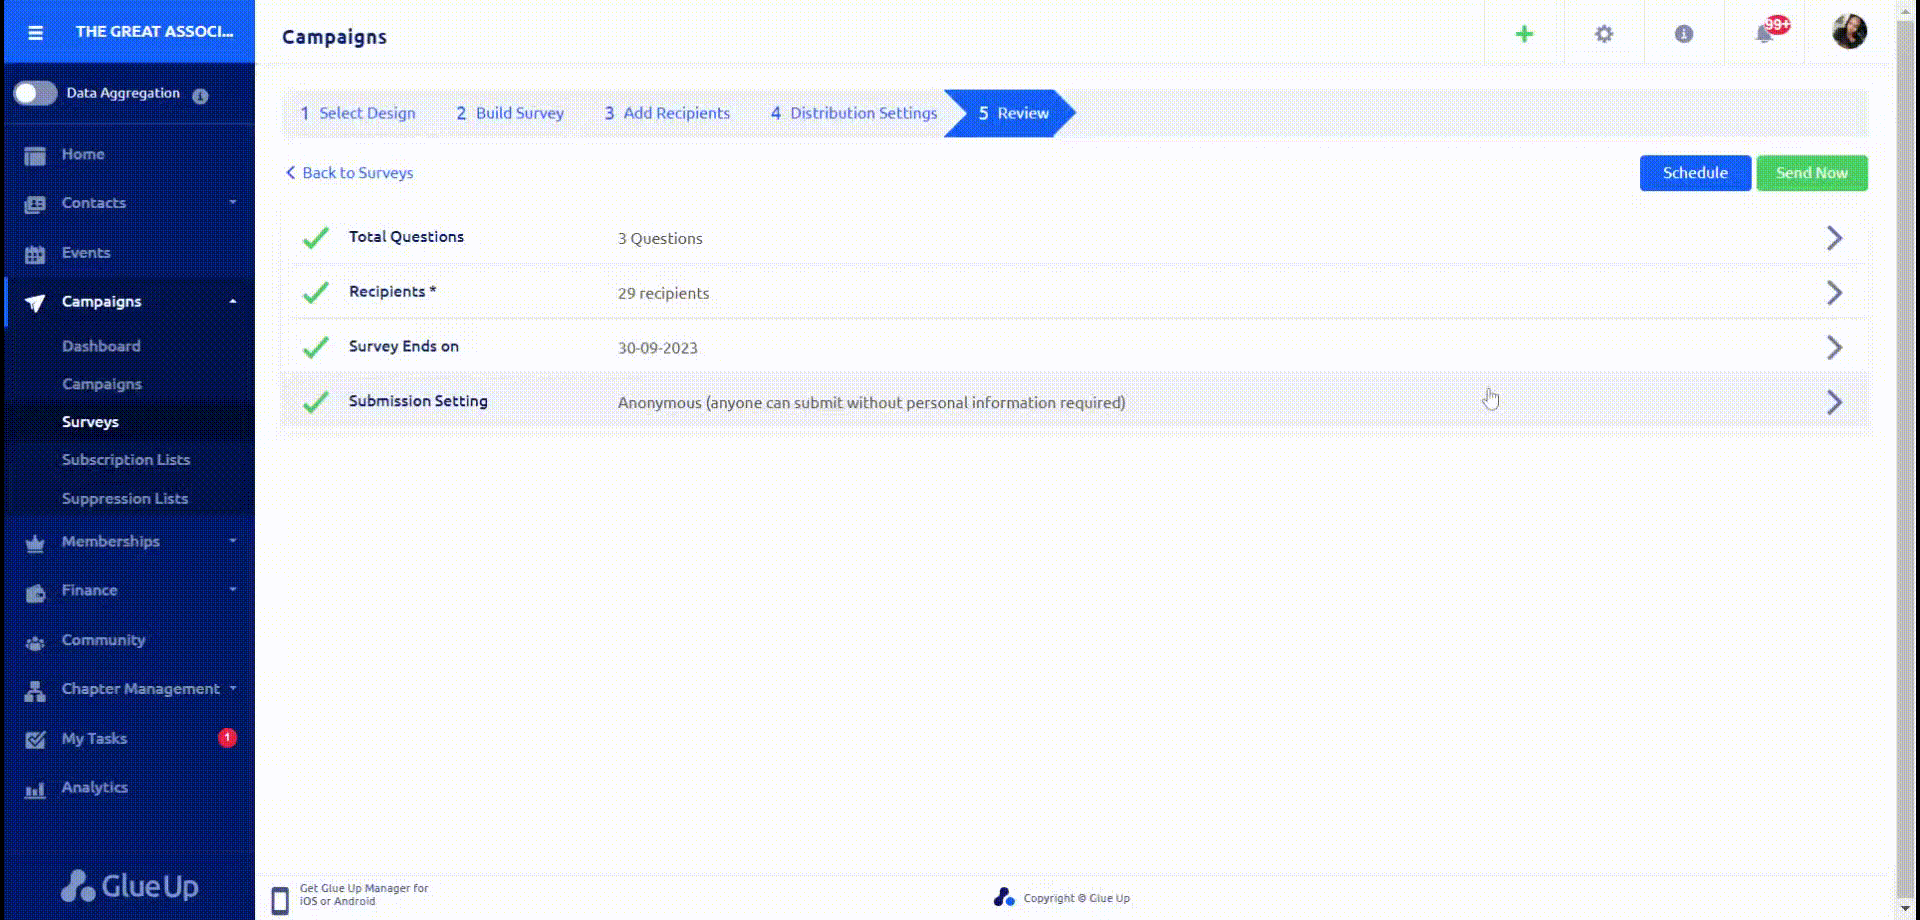
Step 5: Review and Send
Before finalizing your survey, take a moment to review all the sections to ensure everything is in order. Verify that you have filled out all the necessary details, including the survey content and distribution settings.
Once you’re satisfied that everything is set up correctly, you can send your survey immediately or schedule it for a specific date and time. Glue Up provides you with the flexibility to reach your audience at the most convenient moment.
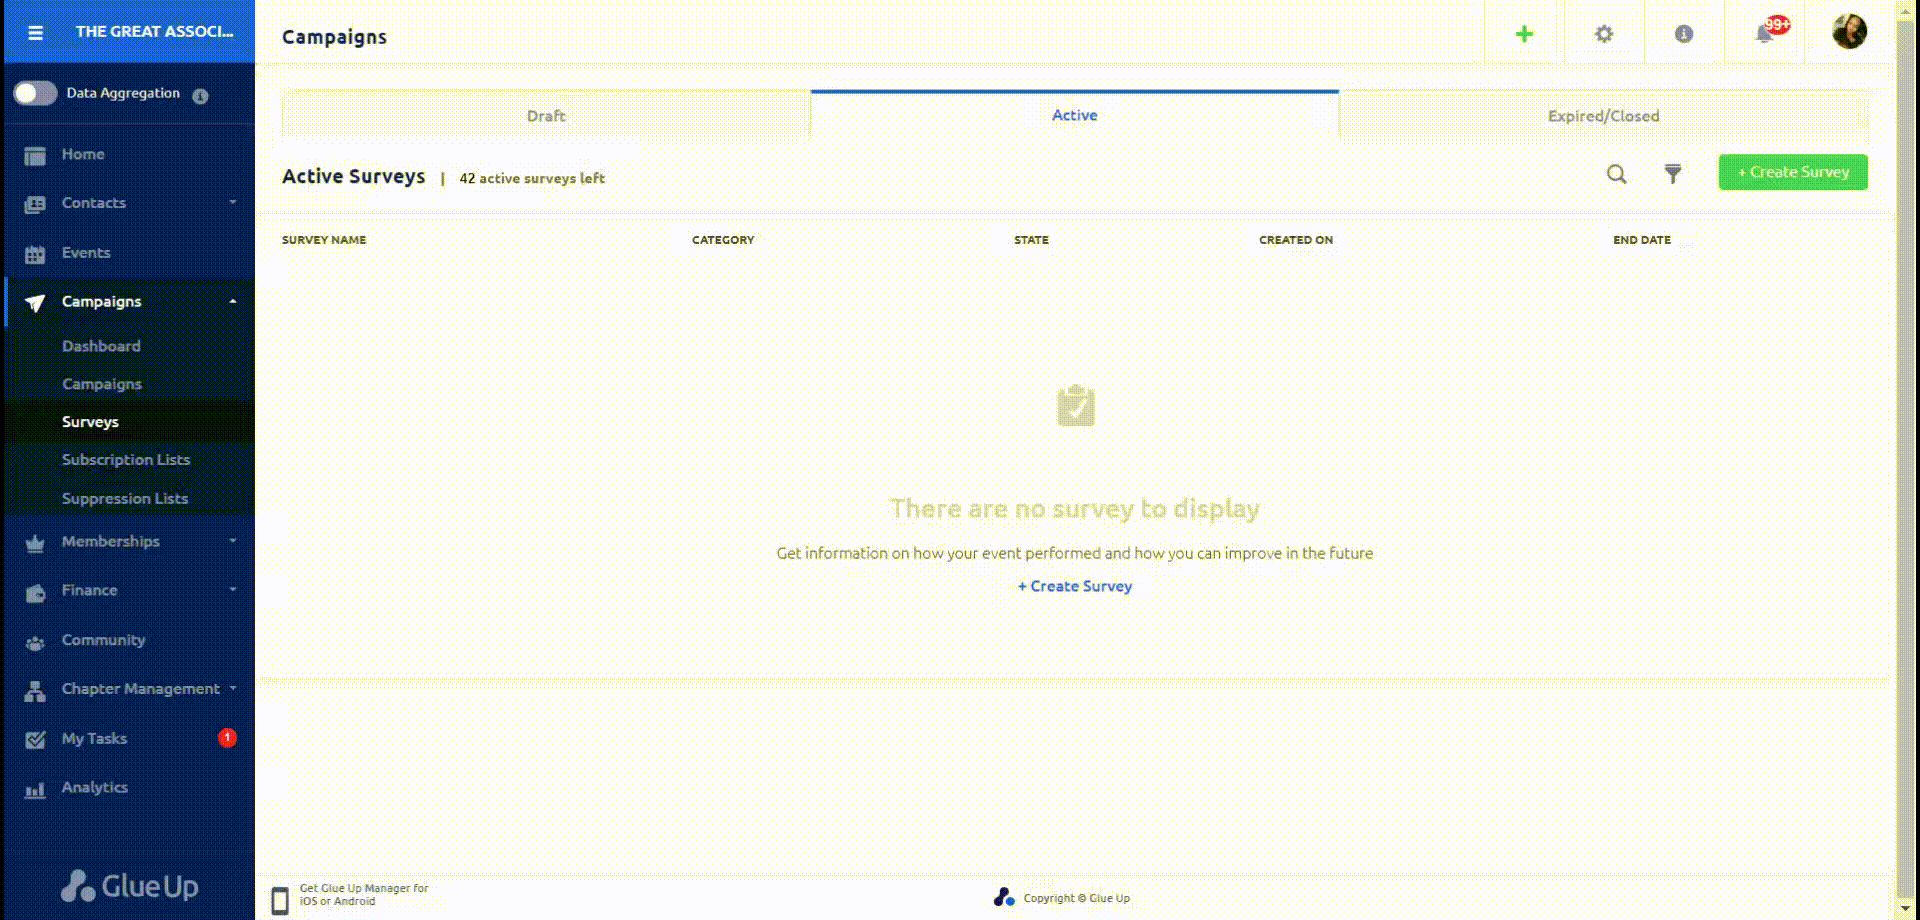
Survey Statuses
- For active surveys, administrators can monitor real-time responses, view participant feedback, and generate reports for comprehensive data analysis. They can also share active surveys with targeted audiences via email, social media, or embedded links to maximize participation.
- Draft surveys allow users to create and customize surveys before launching them, enabling them to fine-tune questions and design. They can also collaborate with team members to refine survey content.
- Expired surveys, once their designated time frame has passed, offer the opportunity to access and export collected data, ensuring that valuable insights are not lost.
Note;
You have the option to incorporate an active survey link within your campaign, where the survey initiation button will be seamlessly integrated into the campaign email.

Visit this article to learn more on how to access survey results.