Glue Up has several possible integrations for you to automate your payments, invoices, and data, allowing you to receive online purchases and have all modules synchronized. Paygage is the advanced payment integration gateway available to our customers in Africa (the default gateway is Flutterwave). There are numerous benefits to utilizing the Paygage gateway as detailed below:
- Competitive pricing (annual fee paid upon signing your contract with Glue Up).
- The application process is easy and straightforward. You can access the Paygage application directly from the Finance Settings in your Glue Up Platform.
- Funds will be automatically directly deposited into your bank account.
- Payment is settled on a weekly basis, rather than every two weeks.
- With Paygage you will have access to your own account dashboard within the Paygage gateway.
- Easily submit refunds and process manual transfers directly from your Paygage Dashboard.
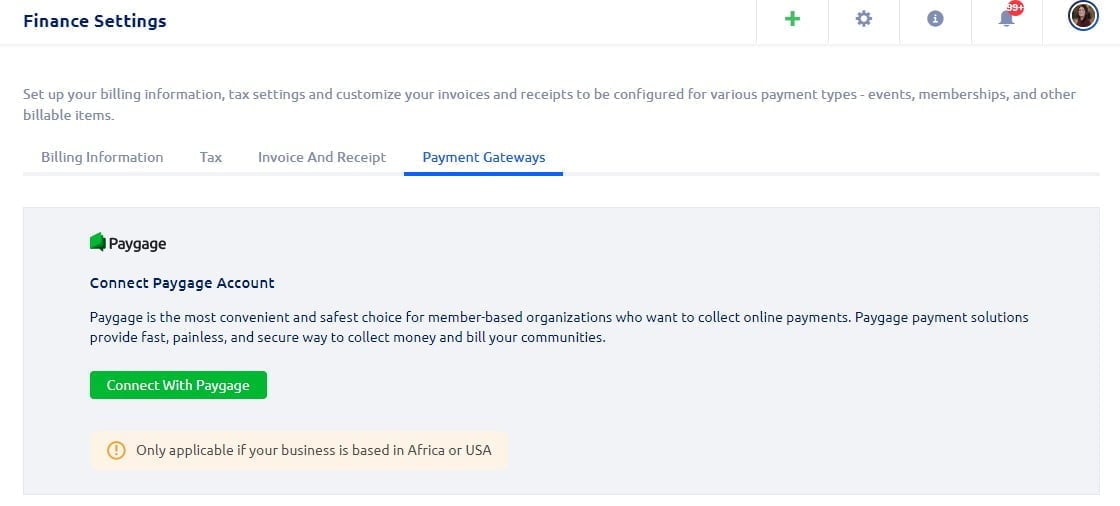
Paygage integration requires coordination from you (the customer) and the Paygage team. To initiate the Paygage onboarding process you will access the Payment Gateways section of the Finance Settings in your Glue Up platform and click the button to Connect with Paygage (per the screenshot below). Information is collected for due diligence to ensure that your merchant account is set up correctly. Please see below detailing all required documents and information needed to set up your Paygage merchant account. Please note that it is essential to provide all requested information to set up your Paygage account. If there are gaps in information, the onboarding process will be delayed.

Required Documents:
- Incorporation documents (Certificate of Incorporation, Memorandum and Articles of Association, etc)
- Valid Web URL/Mobile Application
- Copy of Client Directors’ ID documents
- Corporate Bank account statement
- Proof of business address (i.e.recent utility bill)
- Operating License (when required)
Required Information:
- Registered Business Name:
- Physical Business Address:
- Country:
- State:
- City:
- Website URL:
- Describe your Business (what do you do?):
- Operating Currency/ies (indicate all applicable / only one or more?):
- What’s your role at this company? (select one of the below)
- Company administrator / Senior manager
- Employee / Contractor
- Director / Owner
- Others
- Full Name:
- Doing business as (for individuals only):
- Email address:
- Phone Number:
- Main operating currency:
- (Optional) Are you going to be using secondary currencies? if Yes, Which ones?
Please note that the Paygage onboarding process can take up to two weeks to complete. After onboarding is complete and your Paygage account is activated, you will be granted access to your Paygage dashboard so you can review all transactions, process manual settlements and issue refunds yourself.
See the steps listed below for Processing a Manual Settlement and Issuing a Refund from the Paygage Dashboard.
Processing a Manual Settlement:
Dashboard > Your Business > Transfers > New Transfer (on the right side) > Transfer to Bank Account > Single Transfer or Bulk Transfer (then fill in all required information) > Confirm Transfer

Please note that you will have to input your full bank details where you wish to receive these funds.
The maximum transfer will be the total balance minus the transfer fees (indicated at the bottom of the pop-up window)
Processing a Refund:
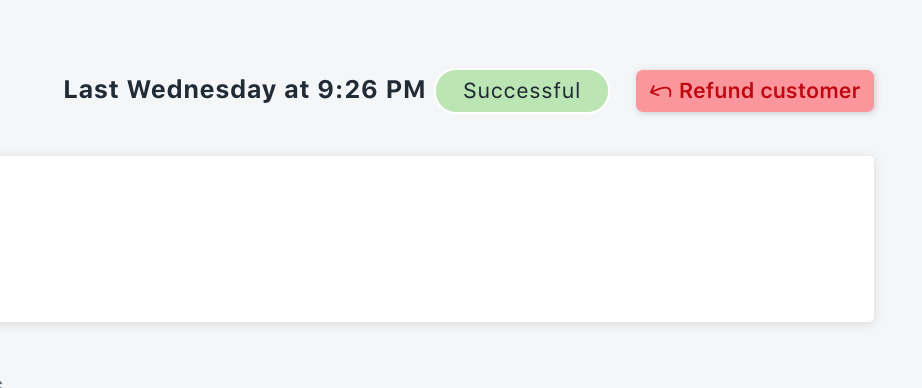
Dashboard > Your Business > Transactions > Select the Transaction > Refund Customer (top right)

If you have any questions regarding Paygage Integration, please reach out to your Glue Up Customer Success Manager.
