ℹ
Note: If you have already subscribed to our full Webinar engagement solution, please refer to the corresponding article. Alternatively, you can also check how to host Webinars on Glue Up if you have not purchased any add-on.
Now the Glue Up Platform gets even more powerful with the new Zoom Webinar integration. Run all your online events with ease by integrating your Zoom with Glue Up for the best attendee experience possible.
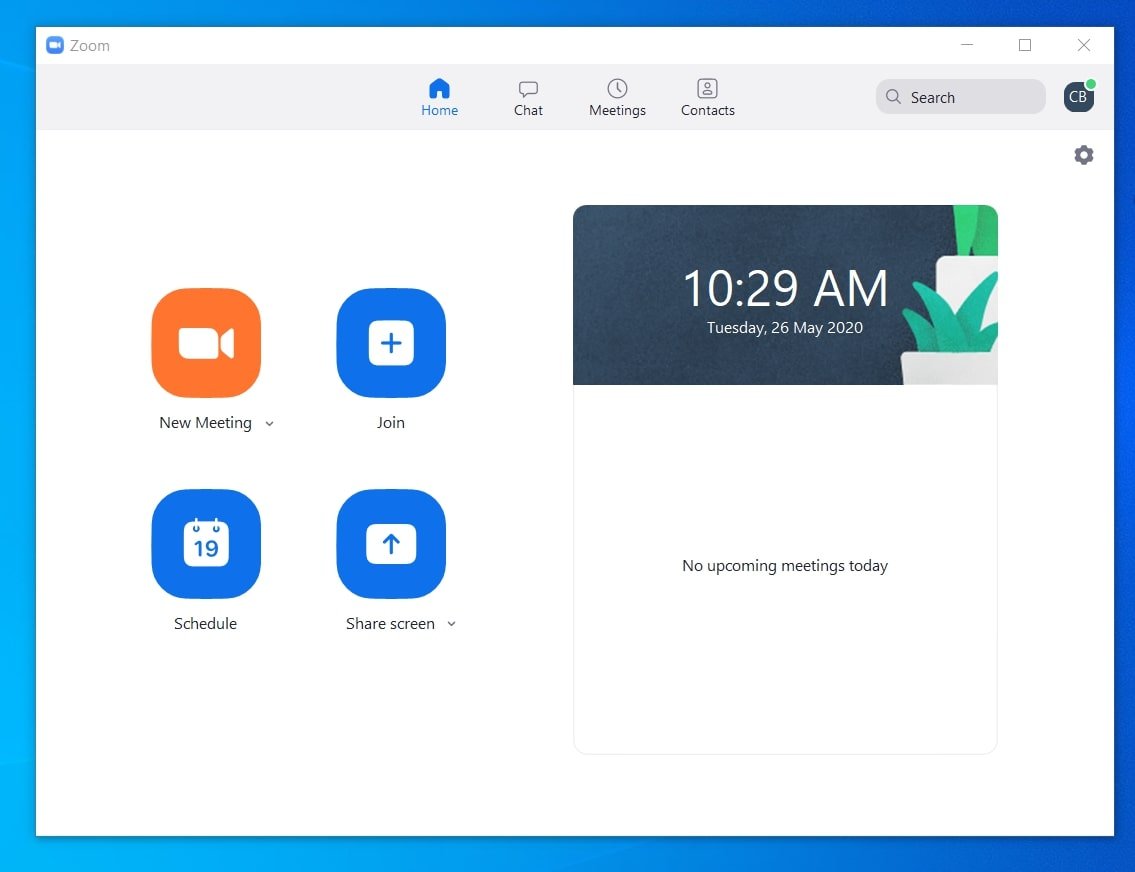
An example of Zoom Home Page
Setting up the Zoom Integration
1. In order to integrate your Zoom account with Glue Up, you will need to have:
- Zoom Webinar Add-on purchased for at least 100 participants
- Admin permissions in both Glue Up and Zoom accounts
Organizers also need to make sure they have appropriate Webinar Allowance and Webinar participants Allowance available in their Glue Up account to use Zoom integration.
!
All Glue Up clients can try Glue Up + Zoom integration free of charge for one webinar. If you want to purchase an additional allowance, please reach out to sales@glueup.com or connect with your Customer Success Manager.
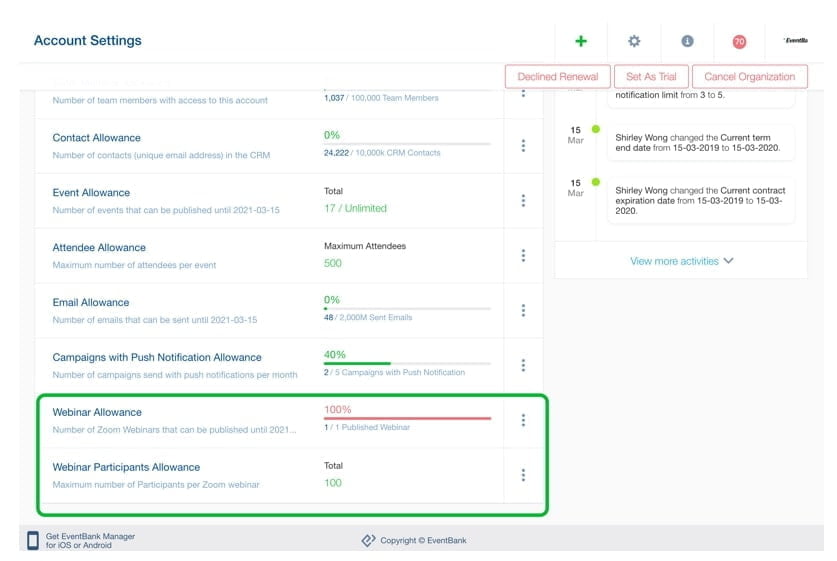
2. Once ready, navigate to Organization Settings and then to Integration Settings.

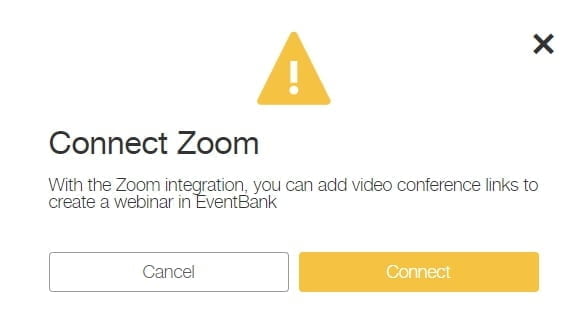
3. In Integration Settings click the “Connect Zoom” button to get the authentication from Zoom and be redirected to log in Page.
4. Log in to Zoom using the admin email and password. (You should have Zoom Pro account with the Webinar Add-on purchased).

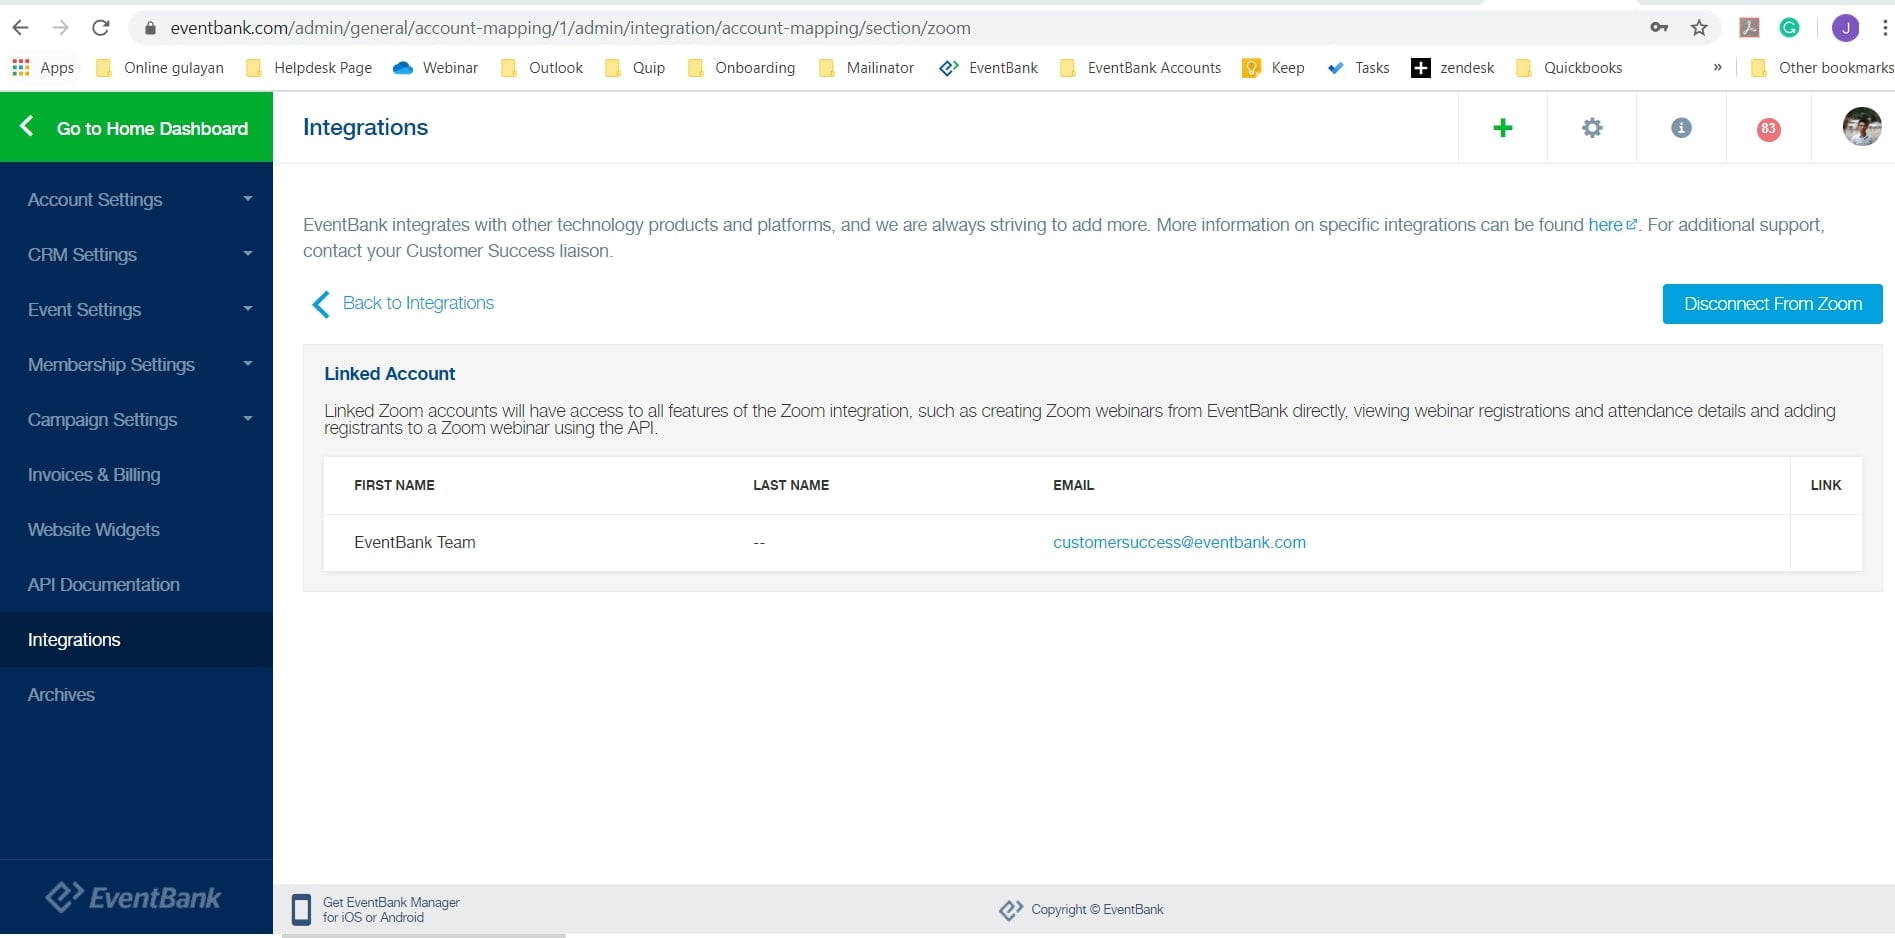
5. Linked Zoom accounts will have access to all features of the Glue Up + Zoom integration, such as creating Zoom webinars from Glue Up directly, viewing webinar registrations and attendance details and adding registrants to a Zoom webinar using the API.
Creating an Event with Zoom Integration
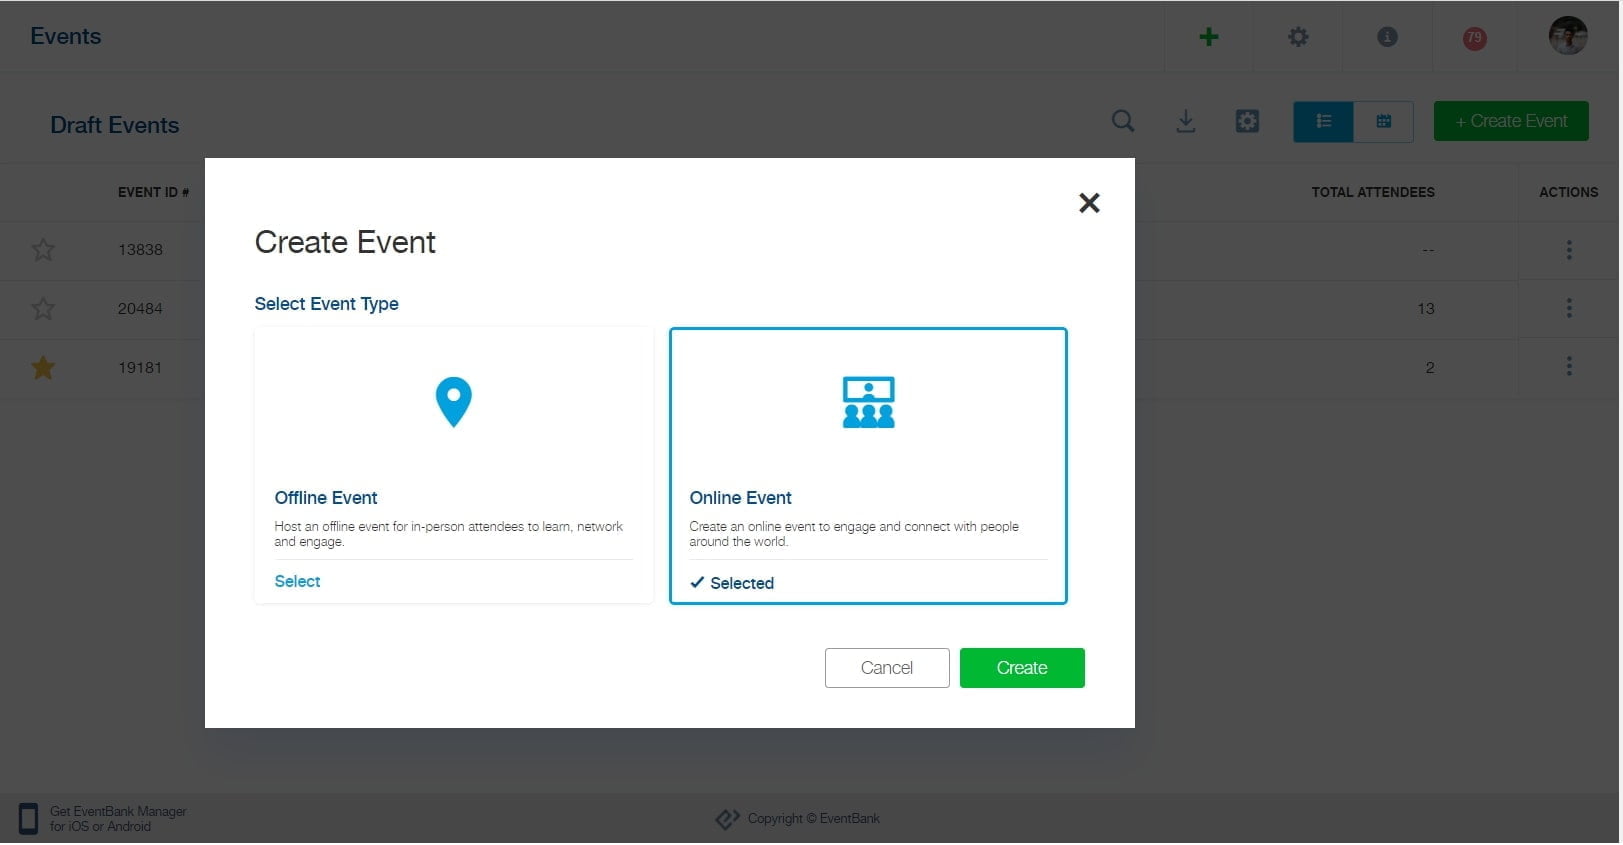
Admin users are asked to choose the event type when creating an event. Online Event selection will need to be used for a Zoom Webinar.
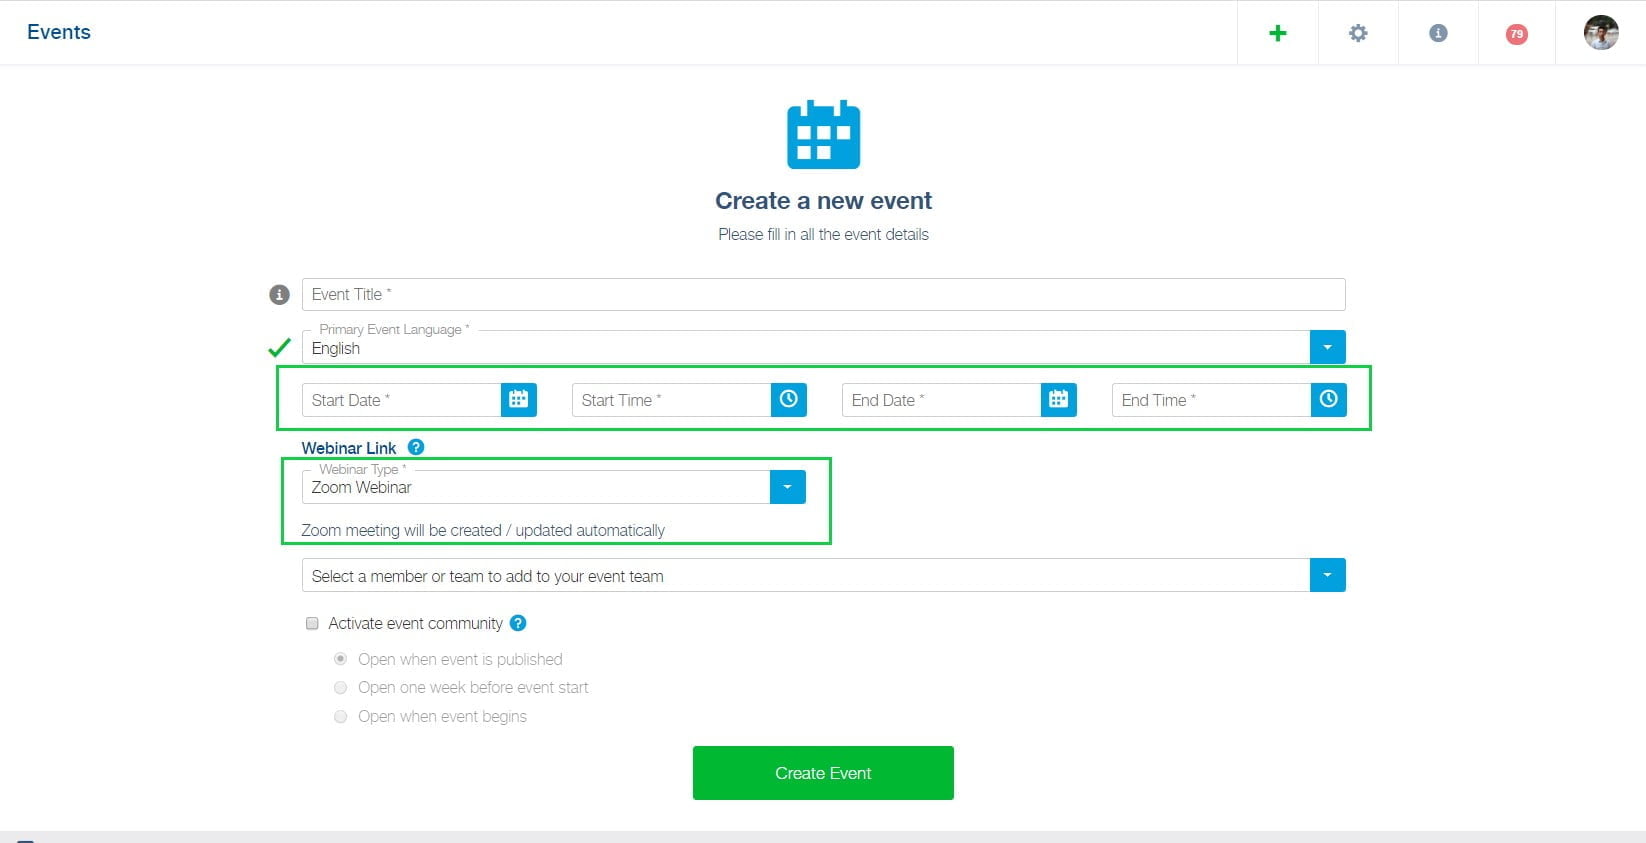
Select “Zoom Webinar” as the Webinar type and the Zoom link will be automatically created on your Zoom account and will be displayed in the confirmation email.
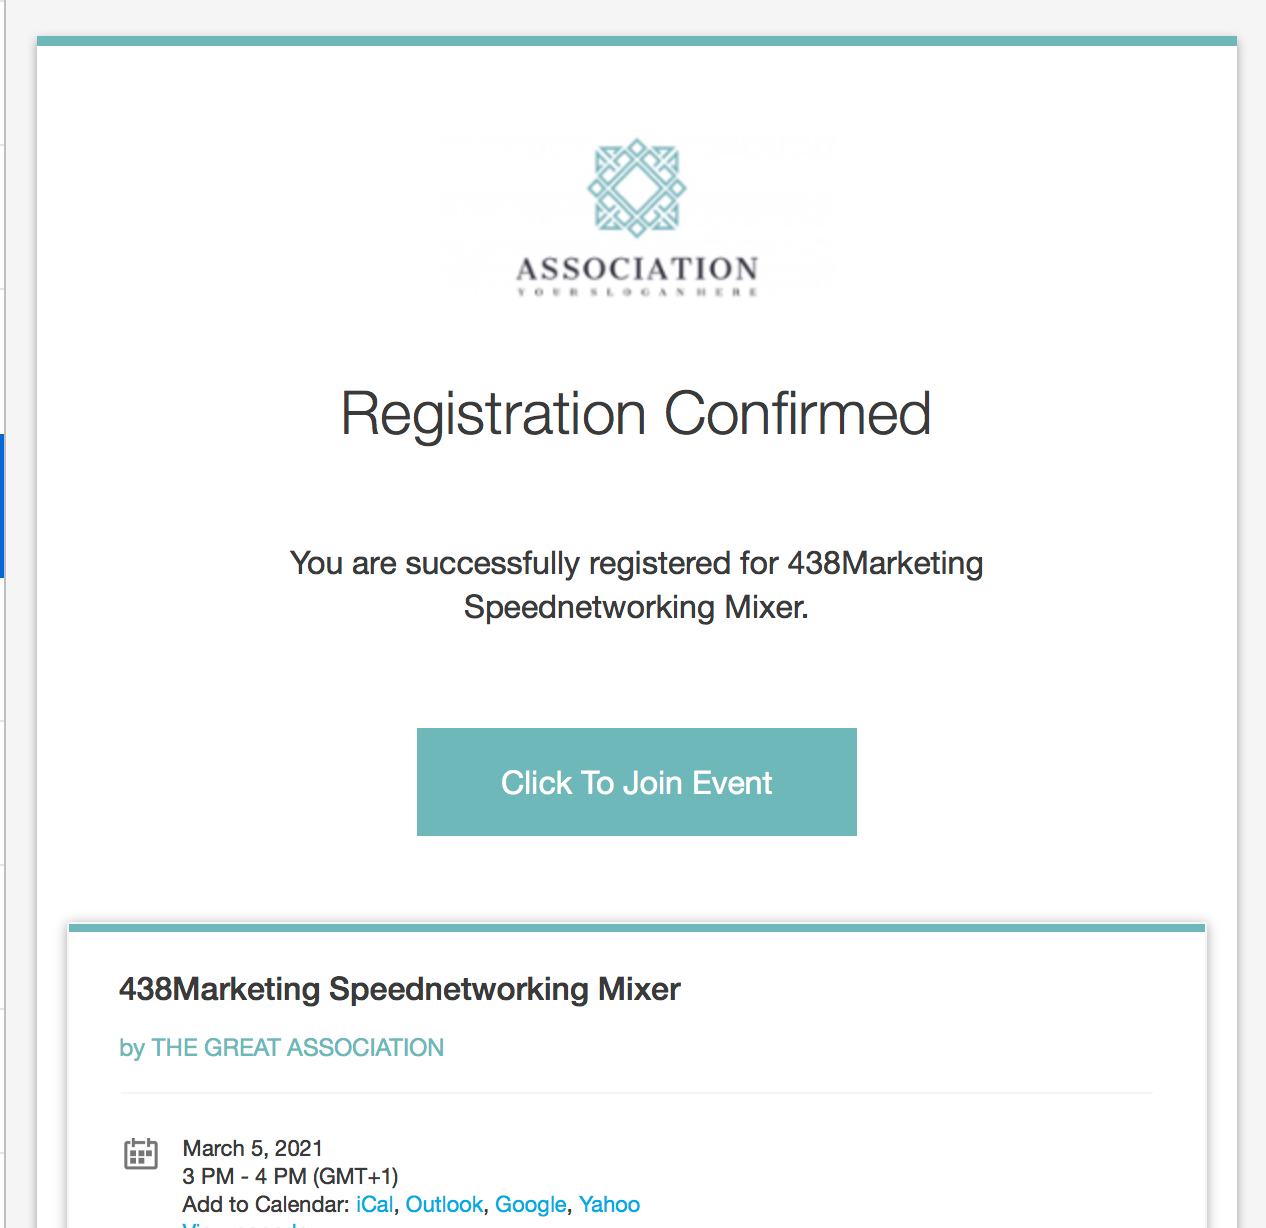
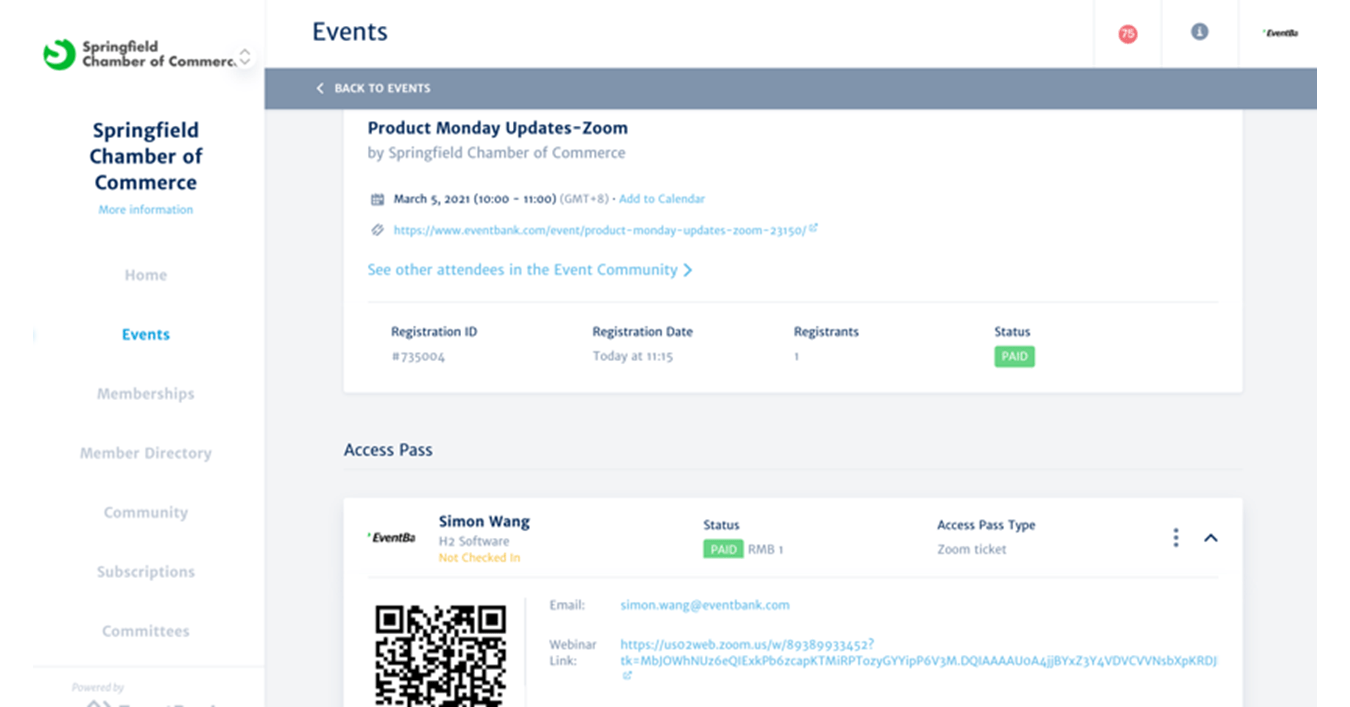
Registered attendees can click the Webinar link in the system confirmation email to join the Zoom meeting.
Glue Up Side:
After Publishing the Event, information and link of the webinar are also available on My Glue site with the unique user link.
Zoom Side:
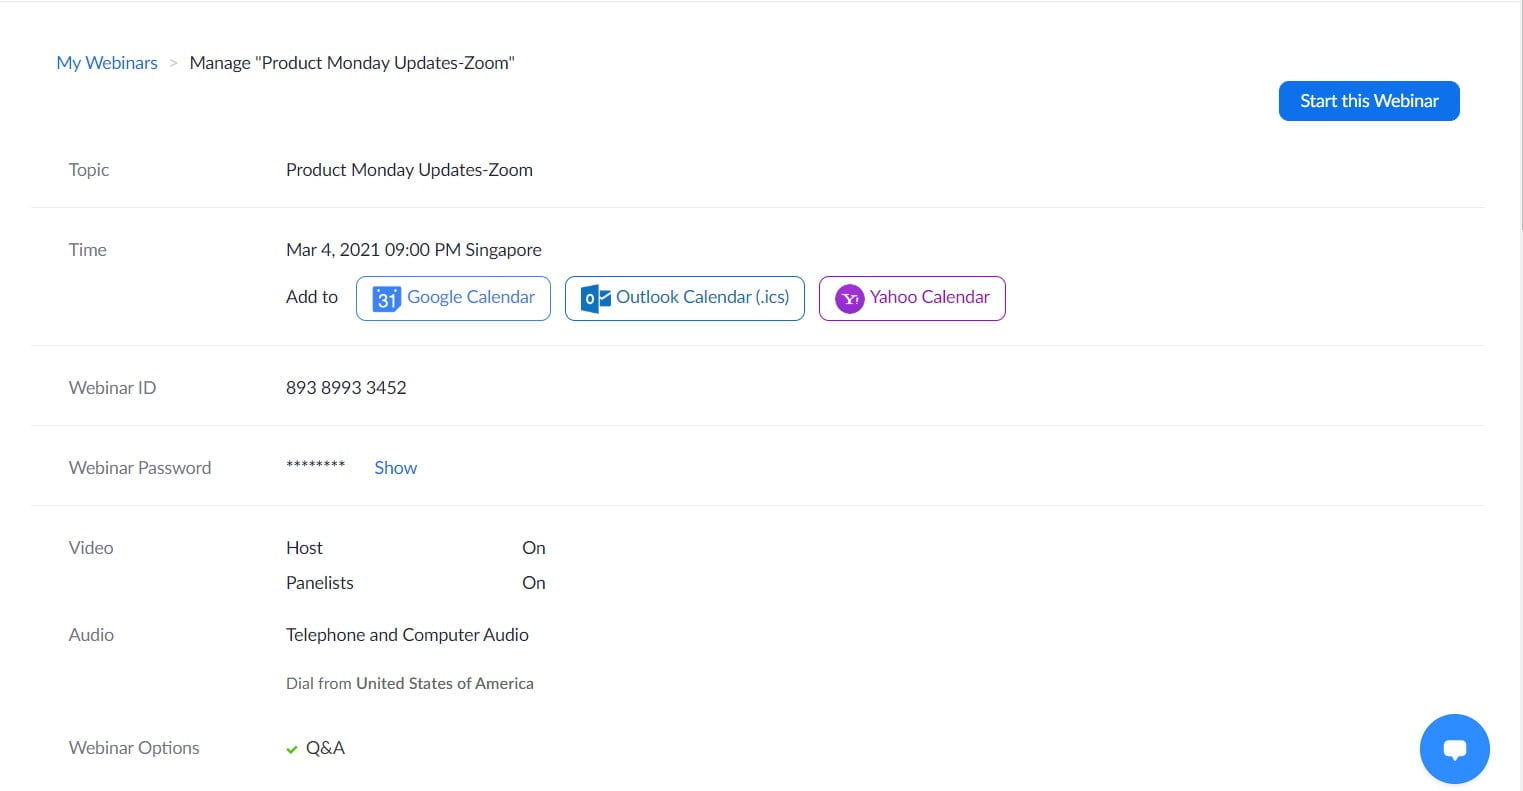
Your created Webinar event will automatically be listed and created on your Zoom Account. You can edit from Glue Up only any change of time or title of the event, which will sync to Zoom as long as the integration is working.
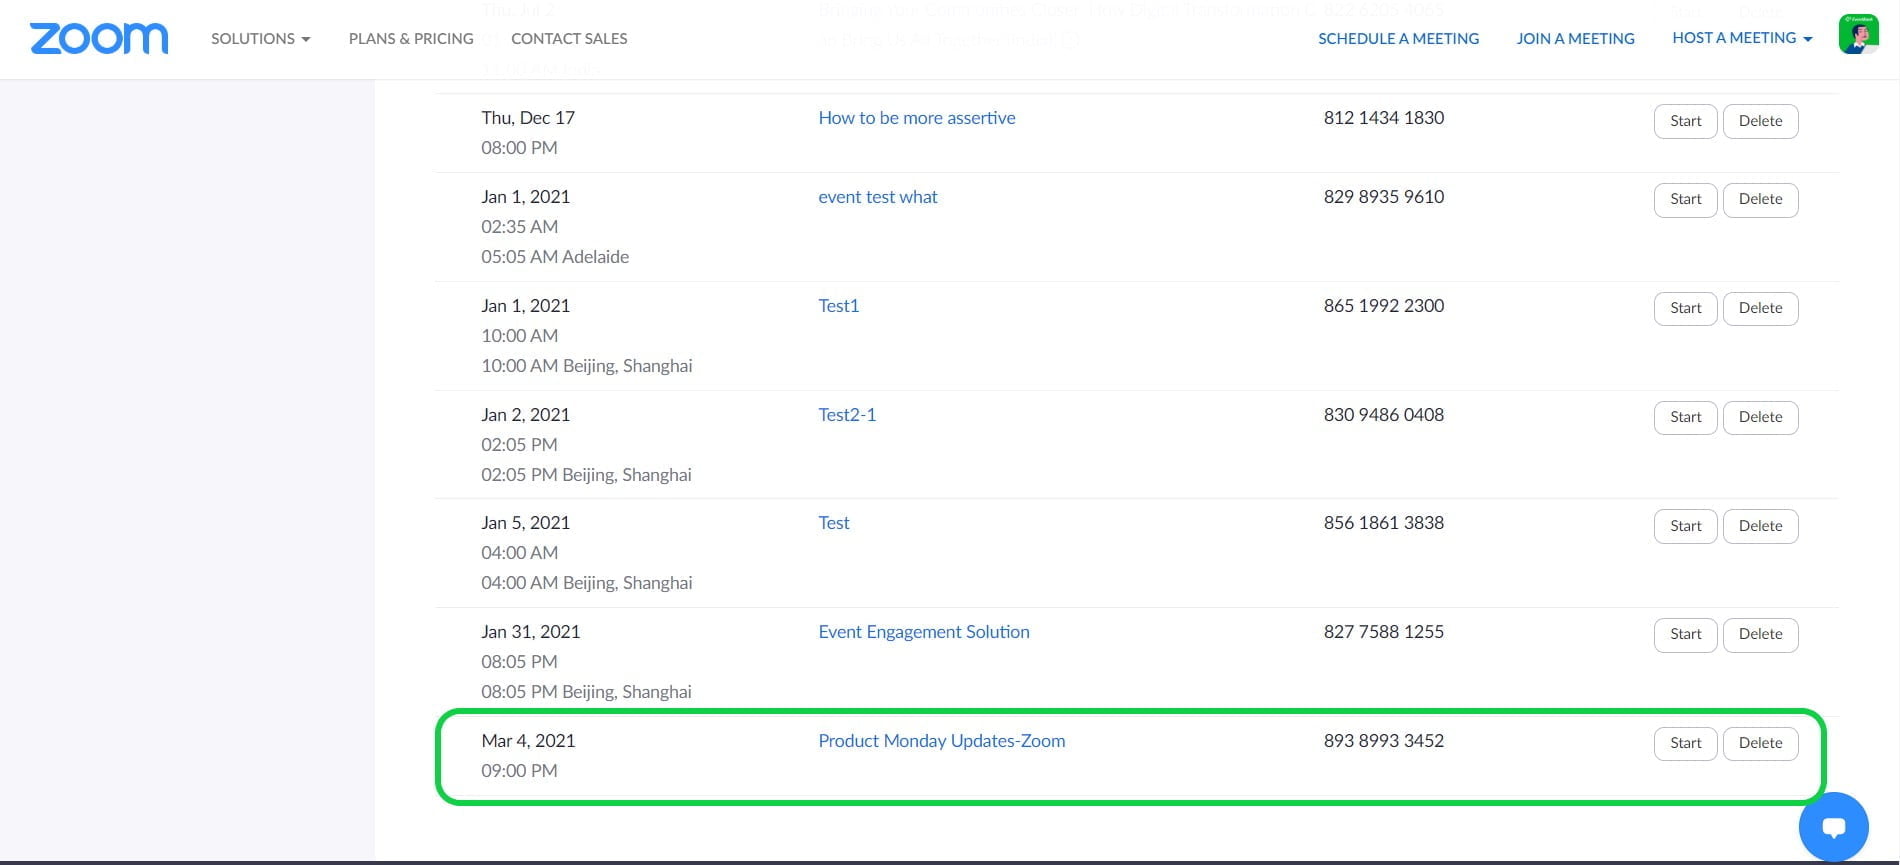
Basic Event information will be synchronized into Zoom side:
- Title
- Event
- Date
- Time
- Registered Attendee

If there is an issue with the synchronization, event team members will receive the below system email asking them to “retry sync to Zoom” and making sure every attendee is synchronized successfully and able to login to the Zoom Webinar.

Important Note: To ensure that the webinar function is working properly, it is important to make sure that the registration fields on the Zoom side are set as optional rather than mandatory. If the registration fields are required, it can cause the sync function to fail.
Disconnecting Zoom Integration from Glue Up
If you wish to discontinue using Zoom integration in your Glue Up account, you can uninstall it in three easy steps:
- Go to the Organization Settings and navigate to Other Settings then click Integrations
- In the Integration Menu click the Zoom View Details button
- At the upper right part click the “Disconnect from Zoom”
!
Please be advised that the Zoom integration will be automatically disconnected from Glue Up if there are no activities within 90 days.
Uninstalling Glue Up from Zoom Account
- Login to your Zoom Account and navigate to the Zoom App Marketplace.
- Click Manage then Installed Apps or search for Glue Up
- Click the Glue Up
- Click Uninstall
Read this article for more information on how an attendee can join and participate in simple zoom meetings.

