This article is related to the Glue Up Community Engagement Solution (CES), which is an add-on feature. To learn more about this add-on, click here.
Introduction
While previously you could only set up one ‘community’ to which all your active members would have equal access, you can now set up multiple ‘communities’ and decide which members have access to each one. In addition, in this new update, you can allow a non-member user access to ‘communities’ of your choosing.
One of the benefits of this feature is that you can now create a ‘community’ to which only an exclusive group of members (e.g., VIP members only, etc.) have access. Of course, each ‘community’ can still have its own sub-groups within for different topics and discussion threads.

How to create a new community
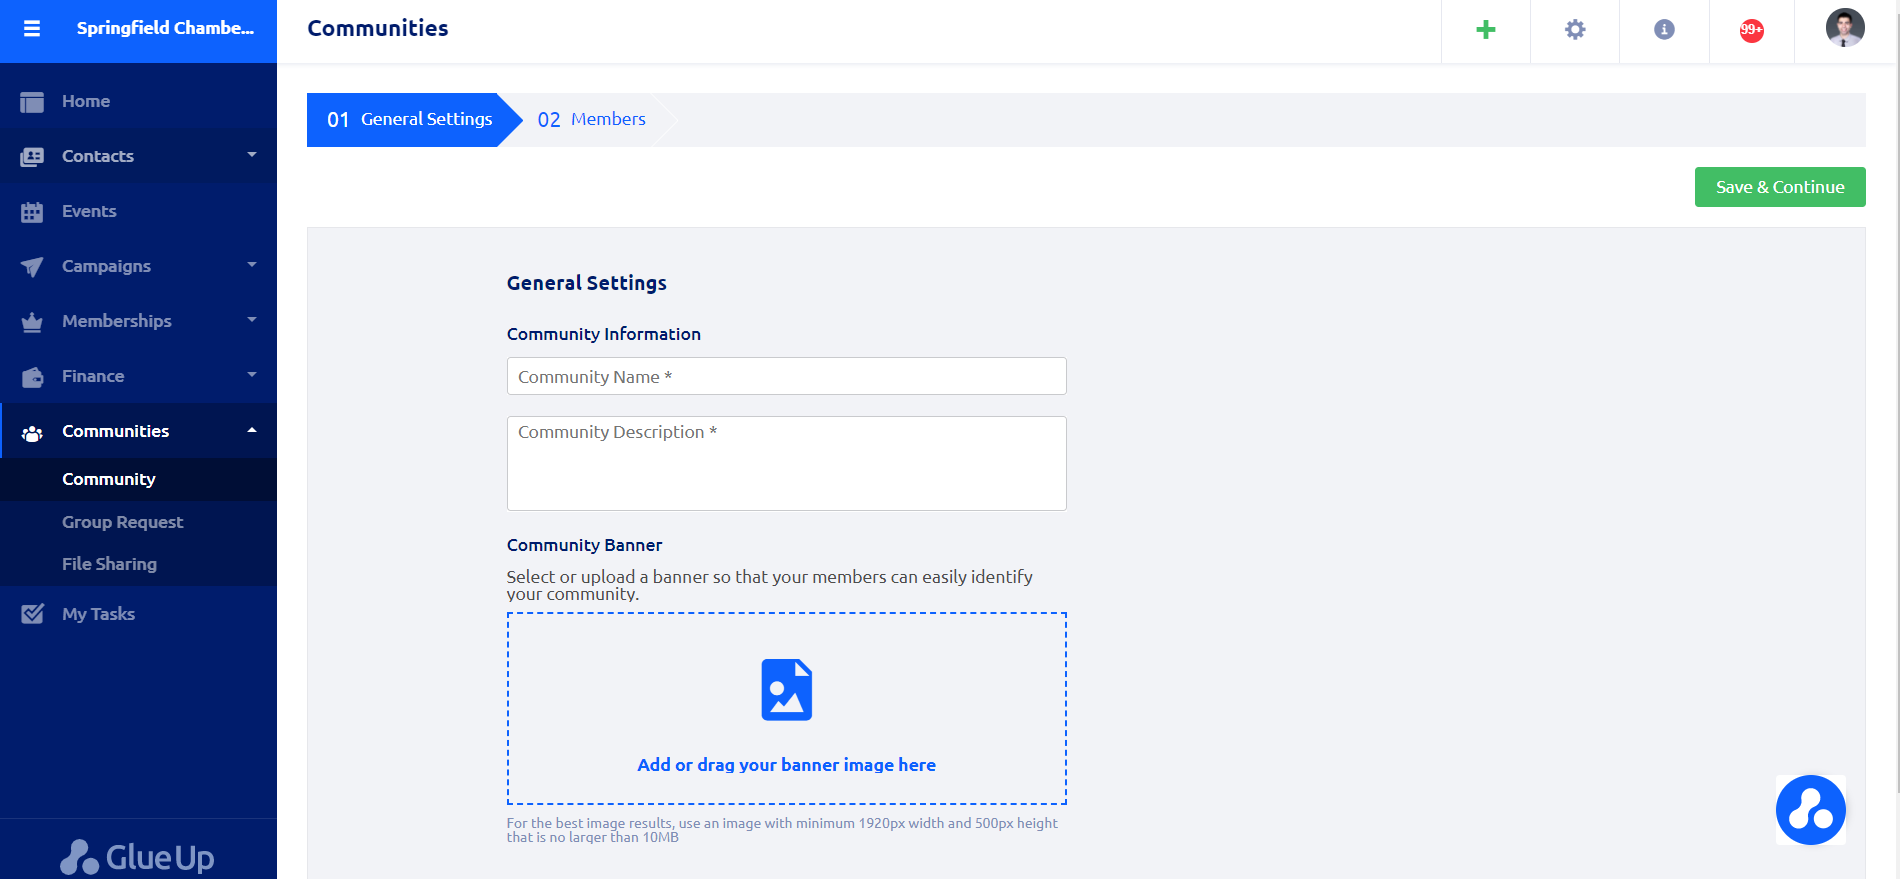
To create a new ‘community’, select the Communities module from the left-hand panel and then click on the green + Create Community button. You then would need to choose a name for this ‘community’, enter a short description, and upload a banner. This banner will appear on that community page. In the next step, you select which members or non-members to add to this community. Finally, you create the community by clicking on Save Community, which will also prompt an email notification to all those you have added. To read more about how to set up a community, click here.

To create a sub-group under a community, click on Community Detail and then click on the green + Create a Group button. You will manage requests to join a private group by clicking on Group Request under the Communities module. Learn more about creating sub-groups and managing group requests by clicking here.
To upload a file to a community, under the Communities module, select File Sharing, choose the correct community tab, and then upload your file. Only the contacts who you have added to this community will have access to these files. Keep in mind that the percentage bar shows how much space you have left for all your ‘communities’ combined.
