Creating and customizing fields for member application forms
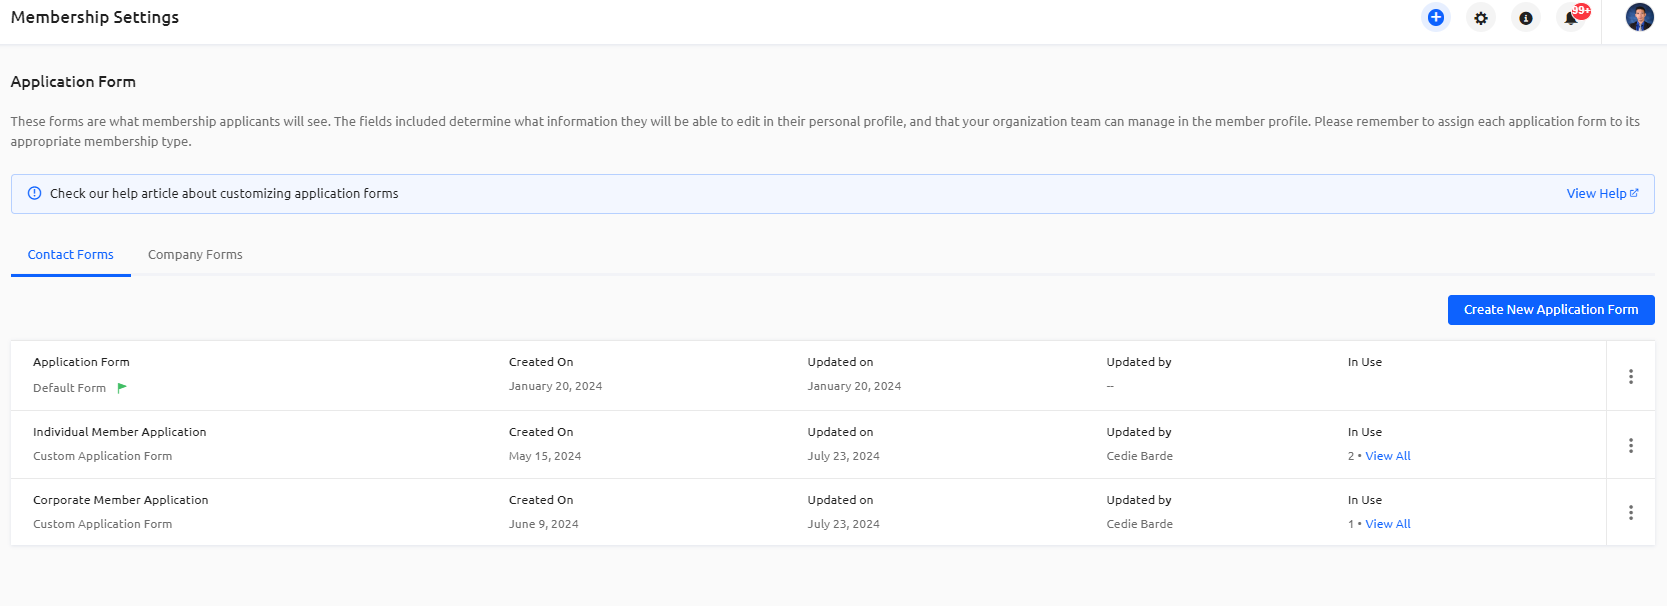
In the Application Forms section of Membership Settings, you can add, edit, or delete custom memberships fields for all individual and corporate members.
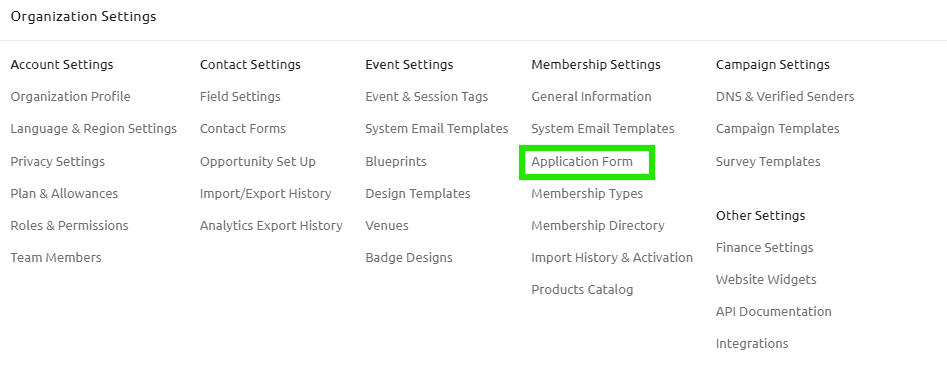
To make changes to the application form and membership fields, click the double-gear icon located in the platform’s top navigation bar to open the Organization Settings dropdown. In the dropdown’s Membership Settings column, select Application Forms.

Now in the Application Forms section of Membership Settings, determine the information you want to track in the Membership module. All fields you create in both the Membership module and CRM Module will be available for all individual and corporate memberships.
You can create multiple application forms based on your needs and the specific information required for different membership types. Please read about the Multiple Membership Application Forms here

Important: The Corporate Membership Type application will use both Individual and Corporate Application Form while Individual Membership Type Application will only use the Individual Application Form. Every new member of a corporate membership will complete an individual membership application. Company application forms must be filled out by the person who will be the primary member of the corporate membership. Only that primary member or one of your organization’s team members can edit information after the company has submitted the membership application.

Adding and customizing member information fields
In the main screen of the Application Forms section of Membership Settings, click any of the existing field blocks to add fields to your organization’s membership application form. You can use the member form/company form switcher to manage fields for either individual or corporate memberships. All fields can be arranged by dragging and dropping as needed. Click any pencil or trash can icon on any of the blocks to respectively edit or delete a field. Available field types include:
- Title: Add a separator that includes a custom title.
- Text: Add a separator that includes custom text.
- Short Text: Provide an empty field for short responses.
- Comment Box: Provide an empty field for long responses.
- Date: Provide a calendar for date selection.
- Single Choice: Provide a question that can only be answered with a single option.
- Multiple Choice: Provide a question that can be answered with multiple options.
- Email: Provide an empty field for an additional email address. Any additional email addresses will not be used as the primary email identifier for CRM contacts.
- Phone: Provide an empty field for an additional phone number.
- Single File Upload: Provide an empty field that allows a single file to be uploaded.
- Multiple Field Upload: Provide an empty field that allows multiple files to be uploaded.
Important: When the member form/company form switcher is on the member form tab, fields will be available for individual membership applications and members within corporate memberships. If the member form/company form switcher is on the company tab, fields will be available for corporate membership applications only.
Tip: Any custom fields you create in the Membership modules will not automatically be added to the CRM module. They will remain in the Membership module.
Tip: If you upload member data, fields labeled private must be included in your organization’s membership application forms. These fields can be kept private for internal use only.
Non-editable fields: Members can view but not edit non-editable fields. These fields can still be edited from the organization admin side. Organizations can use these fields to convey non-editable content that members can still view. You can mark a field as non-editable by clicking on the edit button (pencil icon).
