What is the Community Feature?
The Community Engagement Solution provides your audience with a digital space to network, no matter where they are. The CES is an interactive wall where anyone who has been added can share posts, see each other’s profiles, join different discussion groups and download files that you have uploaded. The users can access this feature by downloading the My Glue app or clicking on My Community on their My Glue page.
Setting up Your ‘Communities’
If you have purchased the Community Engagement Solution, make sure your Customer Success Manager has updated your account. Once your account is updated, you can access the CES by clicking on ‘Communities’ on the left-hand panel. After you activate the CES, you are ready to start setting up your ‘Communities’ and creating different sub-groups within each ‘Community’ (e.g., sub-groups for specific industries and interest groups). These groups can either be open to all members of the community or be a private group that requires an approval step.
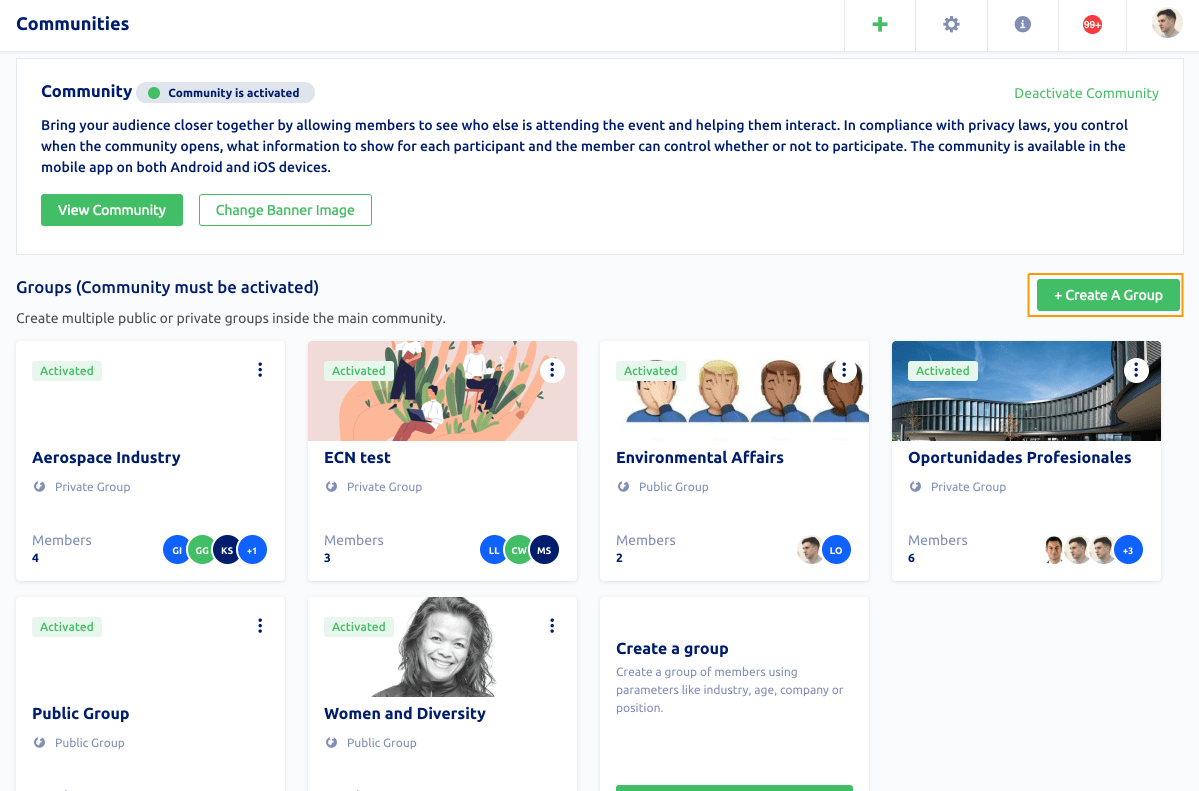
You can set up multiple ‘communities’ and decide who has access to each one. To create a new ‘community’, click on the green + Create Community button. You then would need to choose a name for this ‘community’, enter a short description, and upload a banner. This banner will appear on the main page of the community. In the next step, you select which users to add. Finally, you create the community by clicking on Save Community, which will also prompt an email notification to all those you have added.

The main page of each ‘community’ is available for all who have been added to that ‘community’. Additionally, you can create sub-groups within each community for specific industries and groups of interest. To create a group, first, click on Community Details, and then click on the green + Create a Group button. You will then need to follow the steps below:
Step 1
- Enter a title and a short description of the group (describe contents to discuss or rules of the participation)
- Choose if the group is public (all members can access), private (non-invited members can request to join the group through the platform), or private and hidden (only invited members can see this group).
- Upload a banner for the group (optional)

Step 2
Invite members of the community to the group (you can select all, filter by different criteria, or pick members one by one).
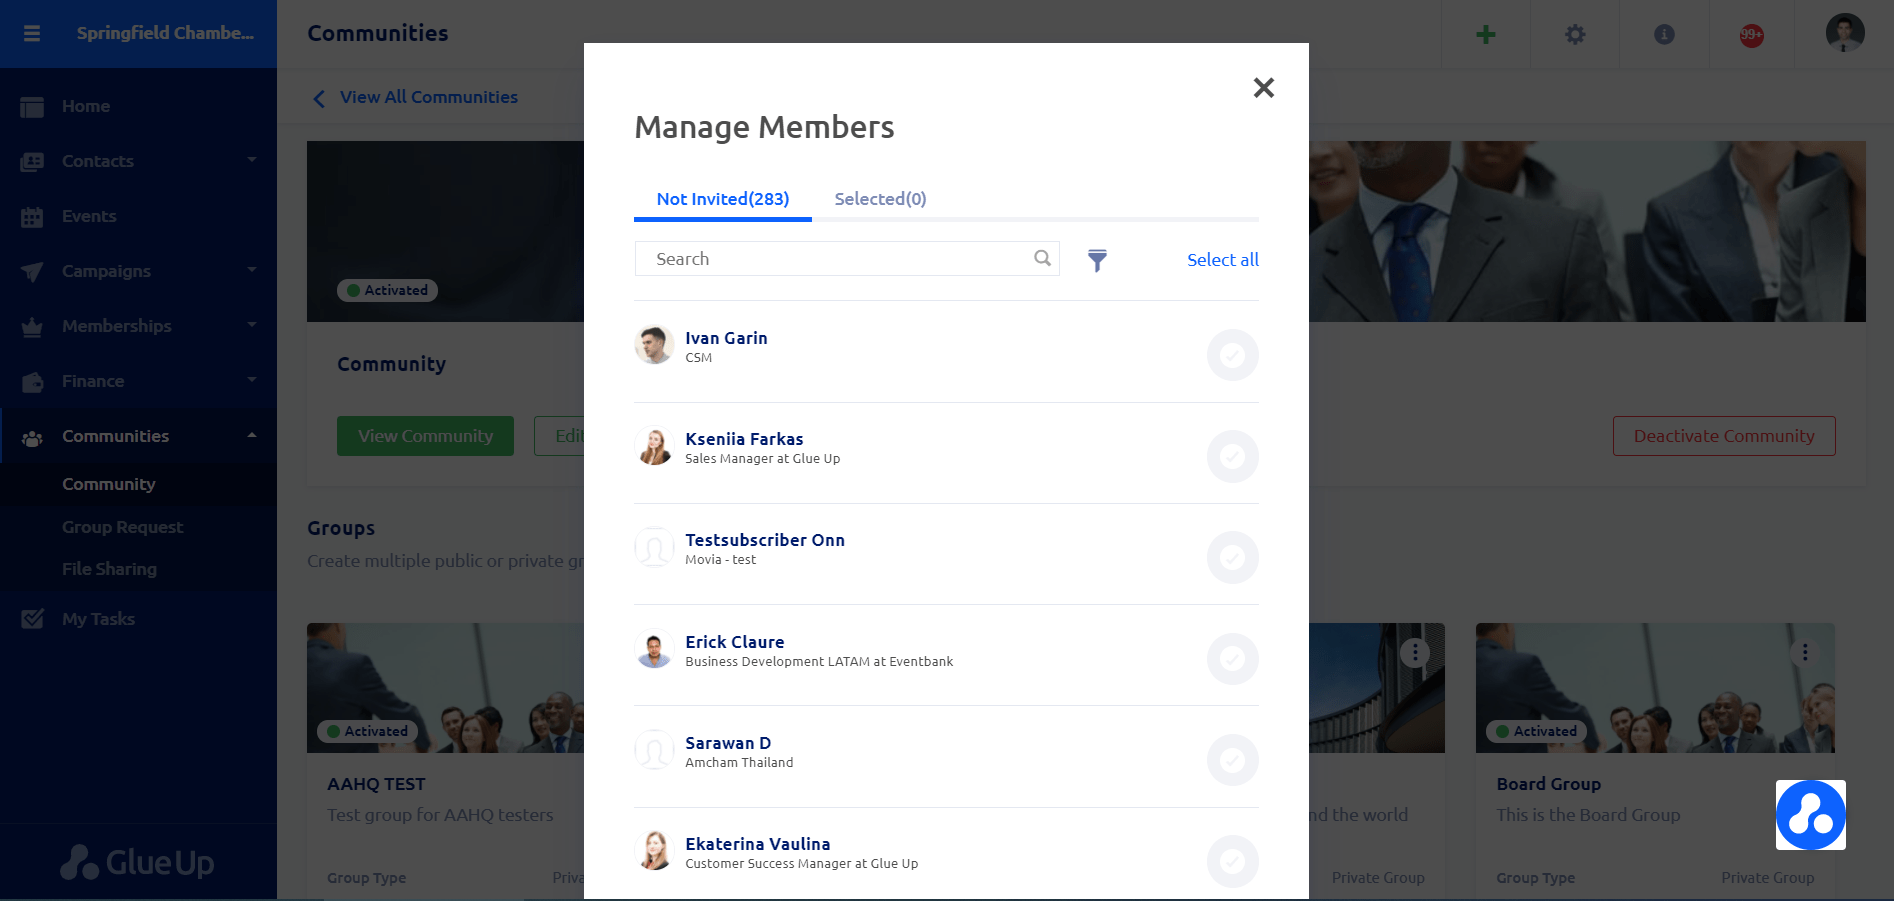
Members who haven’t been invited to a private group can request to join as well. These requests will appear under Group Request in the left-hand panel. Here, you can review each request, approve or decline them or simply ignore them by clicking on the trash icon.

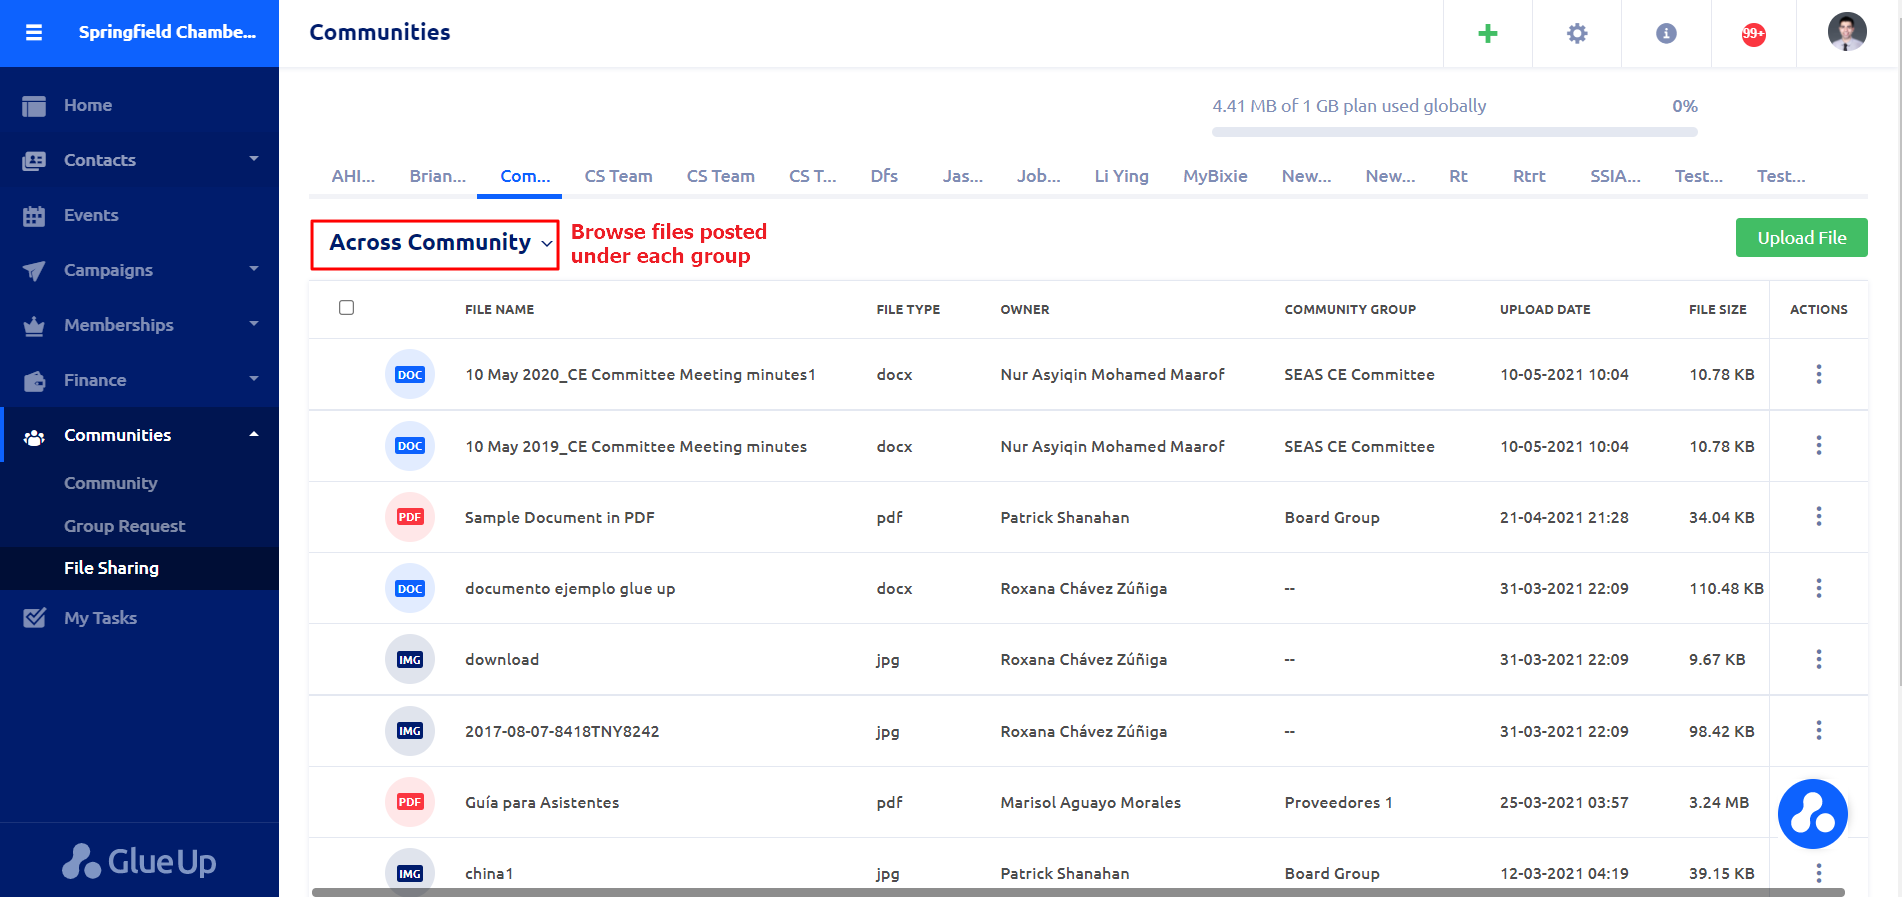
Upload Files in ‘File Sharing’
You can share files on each ‘community’ you have created, and the members of that community will be able to access and download these files at any time. You can choose to upload these files either on the main forum or to a specific group. To upload a file to a community, under the Communities module, select File Sharing, choose the correct community tab and then upload your file (no limitations on the format of the file). Only the contacts who you have added to this community will have access to these files. Keep in mind that the percentage bar shows how much space you have left for all your ‘communities’ combined.
Once successfully uploaded, the file will appear on the community you chose (either on the main forum or under a specific group).
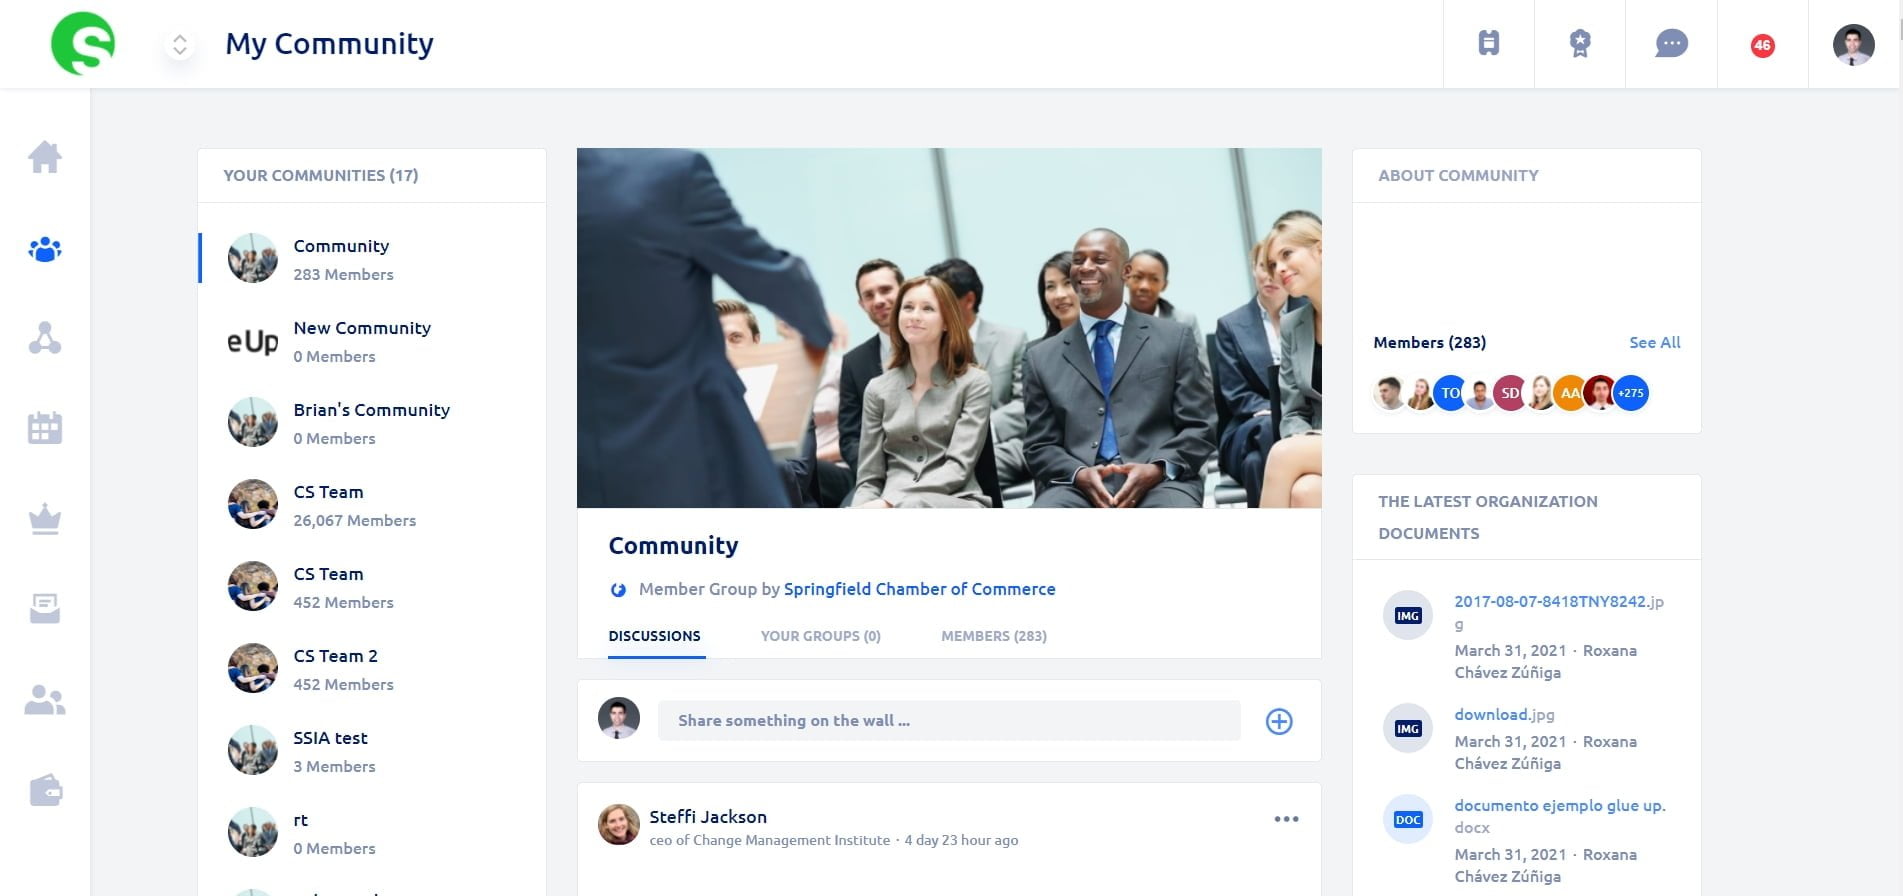
A ‘community’ main wall is where each member can post messages*, post pictures, and upload files. A member could also comment on or ‘like’ a post. Members access this wall by clicking on My Community on their My Glue page or through the My Glue app. If a contact is a member of several ‘communities’, they can see all those communities on the left side of the screen and switch between them by simply clicking on each one. All the groups within each ‘community’ are also listed on the left side of the screen.
*4000 characters limit for each post.

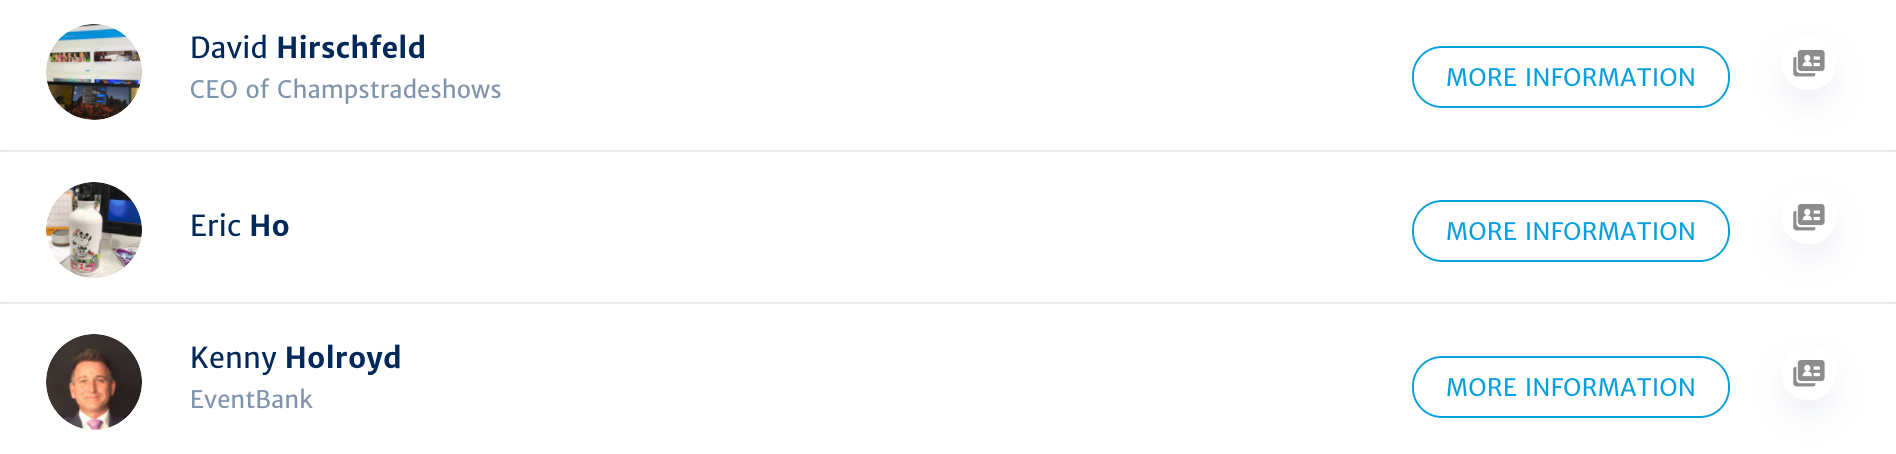
Members List
You can see all the members under each community by clicking on ‘See all’ in the About Community section (top right corner of the page). Here, members are able to see some details about each other and share digital business cards. All the received business cards are located under My Profile.
Video Teaser
Check this video to understand how you and your members can take advantage of the Community Engagement Solution: