This article walks you through the process of using the Glue Up Manager app to ensure a seamless and efficient check-in experience for your event.
Step 1
Download and Install the Glue Up Manager App
To begin, visit your app store (available for both iOS and Android) and search for the “Glue Up Manager” app. Download and install the app onto your smartphone or tablet.
Step 2
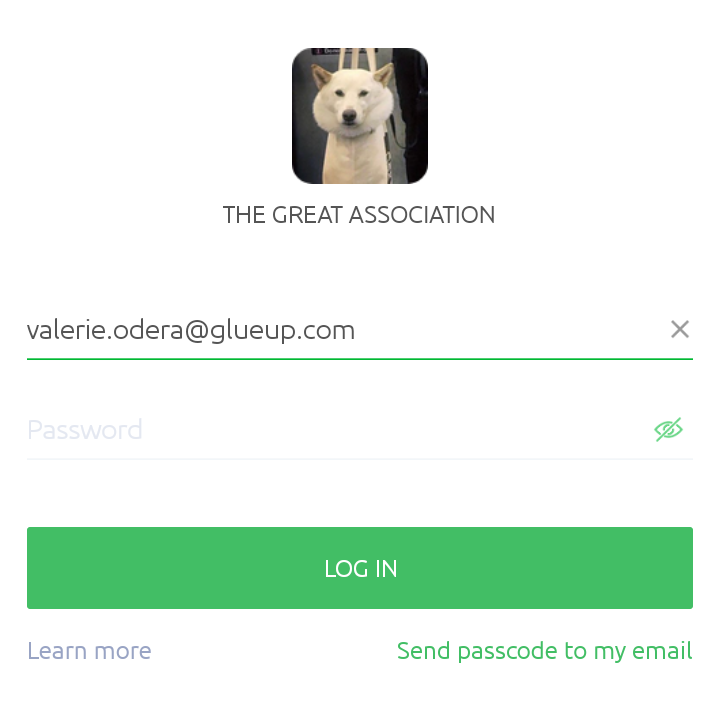
Log in to Your Glue Up Account Launch the Glue Up Manager app and log in using your Glue Up account credentials. If you don’t have an account yet, you can sign up for one on the Glue Up website.
Step 3
Upon logging in, you will see a list of events associated with your account. Locate the event you want to check in attendees for and tap on it to access the event details.
Step 4
The event dashboard contains a list of all registered attendees with a breakdown of who has been checked in or not. One can also see campaigns sent out and the event team.To check in an attendee;
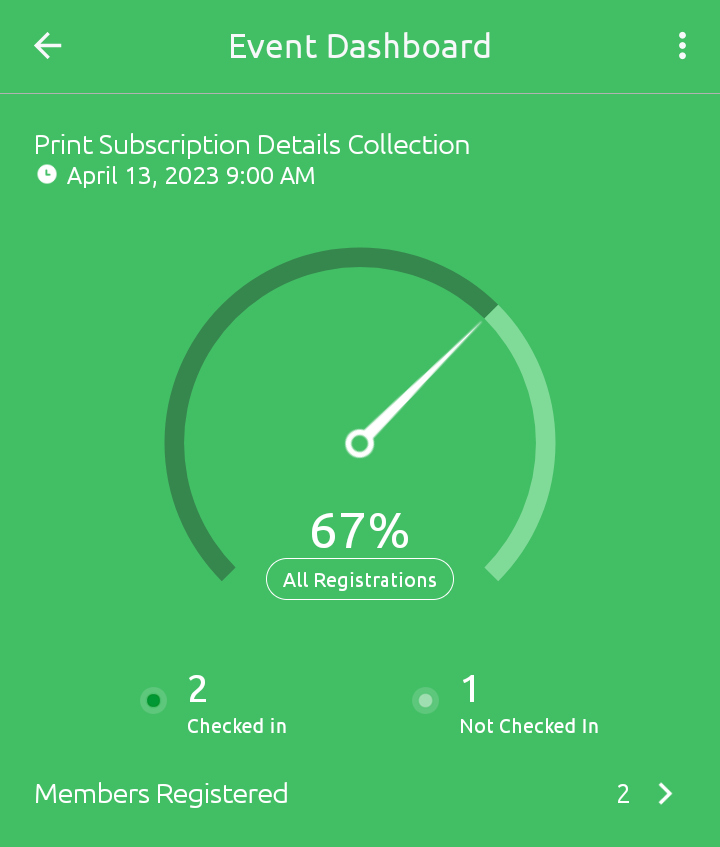
- Click on all registrations to access the attendee list.
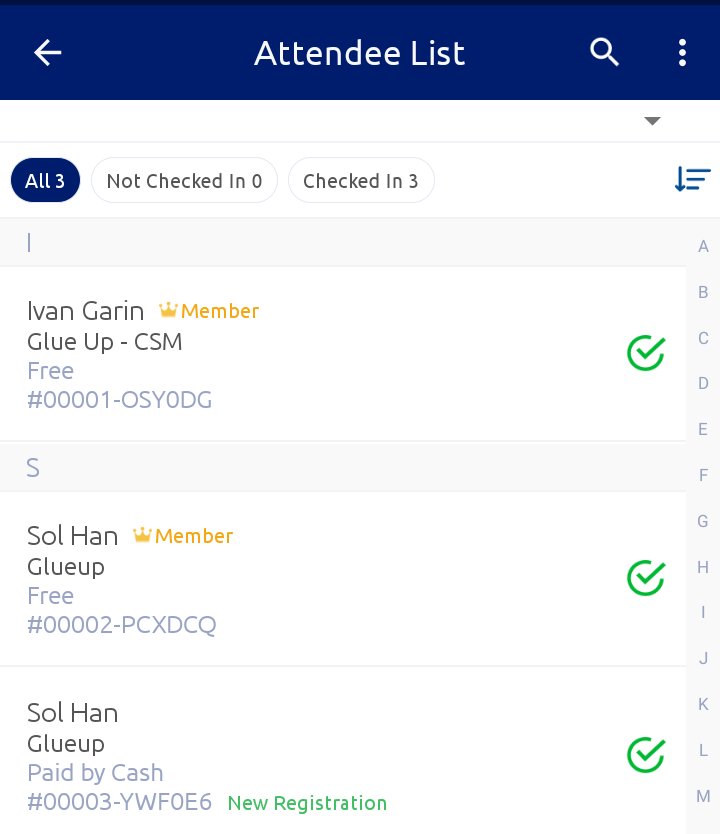
- Select and attendee and view the ticket and registration information
- Additional actions include editing the attendee information like capturing a photo or uploading a profile picture and updating other attendee information
- Click on the check in button to successfully check in an attendee.
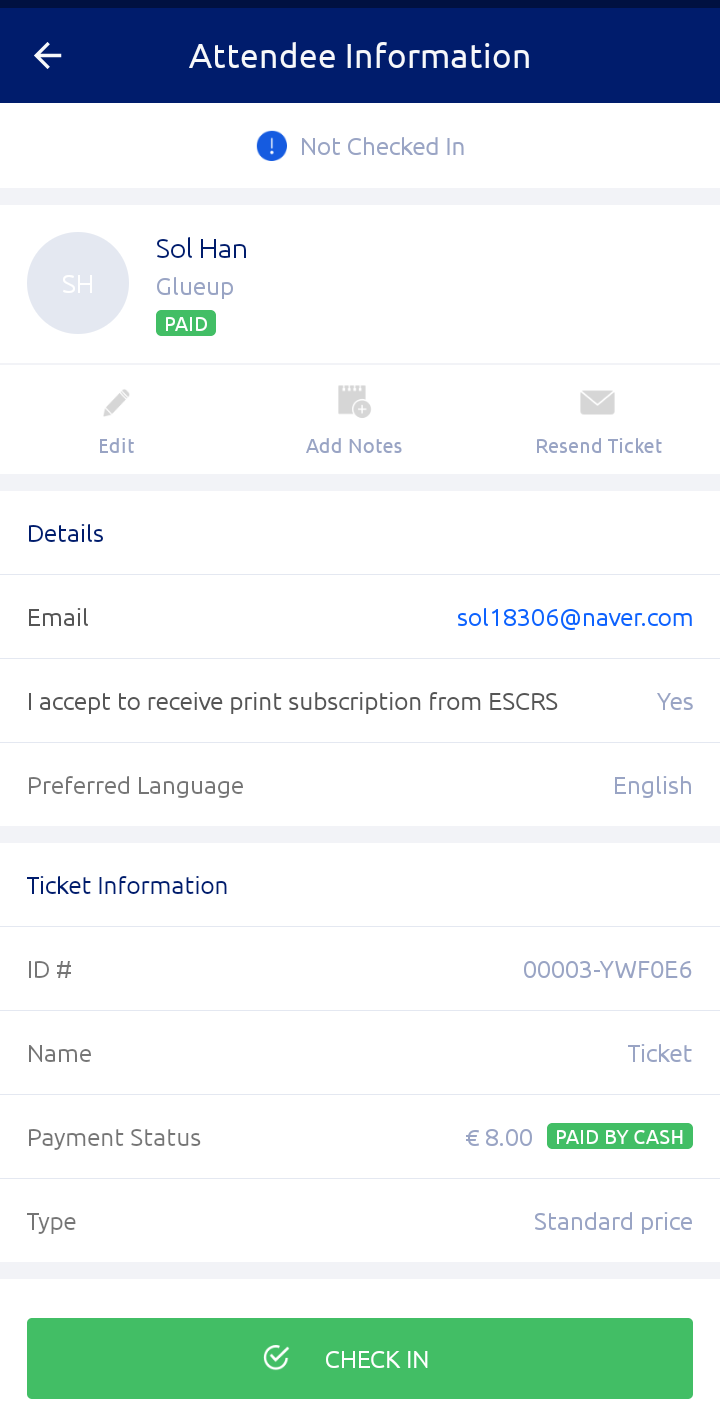
- The Glue Up Manager app will update their check-in status in real-time.

- You can easily track the number of attendees checked in, the remaining capacity, and any additional event-specific information.
Step 5
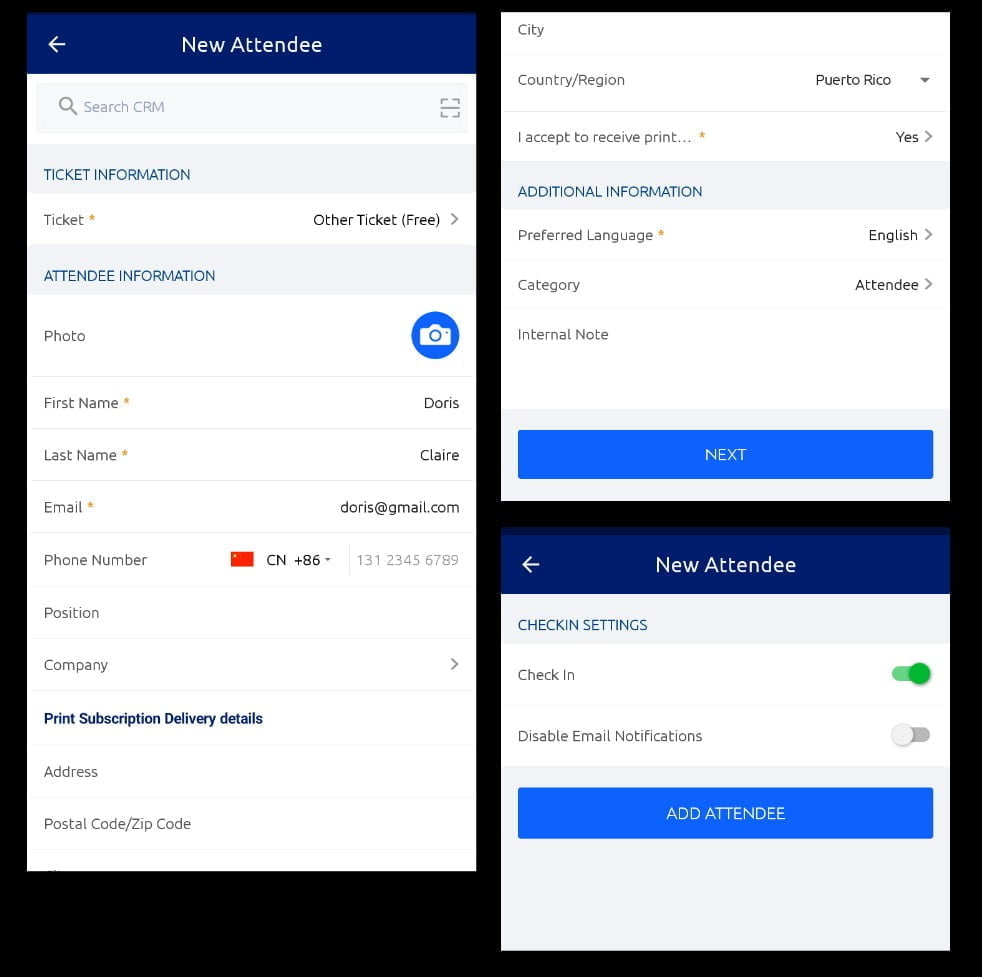
If your event allows on-site registrations, you can use the Glue Up Manager app to register new attendees directly. Simply select the “Add Attendee” option within the Check-In section and fill in the required information. The newly registered attendee can be check in and notified through an email notification.
Step 6
Upon the conclusion of an event, the manager app provides a breakdown of;
- Attendees (Pre- registered and walk ins)
- Not paid
- No show
- Total number of registrations