Overview
You can create custom invoices to process any charges* for services, goods, projects, etc., that you wish to track with the Glue Up platform. The invoice status and payment method can be easily tracked and accessed in the Finance module. Only team members who have access to this module can view and edit invoices.

How to create custom invoices
Follow the steps below to create a custom invoice on the platform:
- In the Invoices section of the Finance module, click on the green “+ Create Invoice” button.

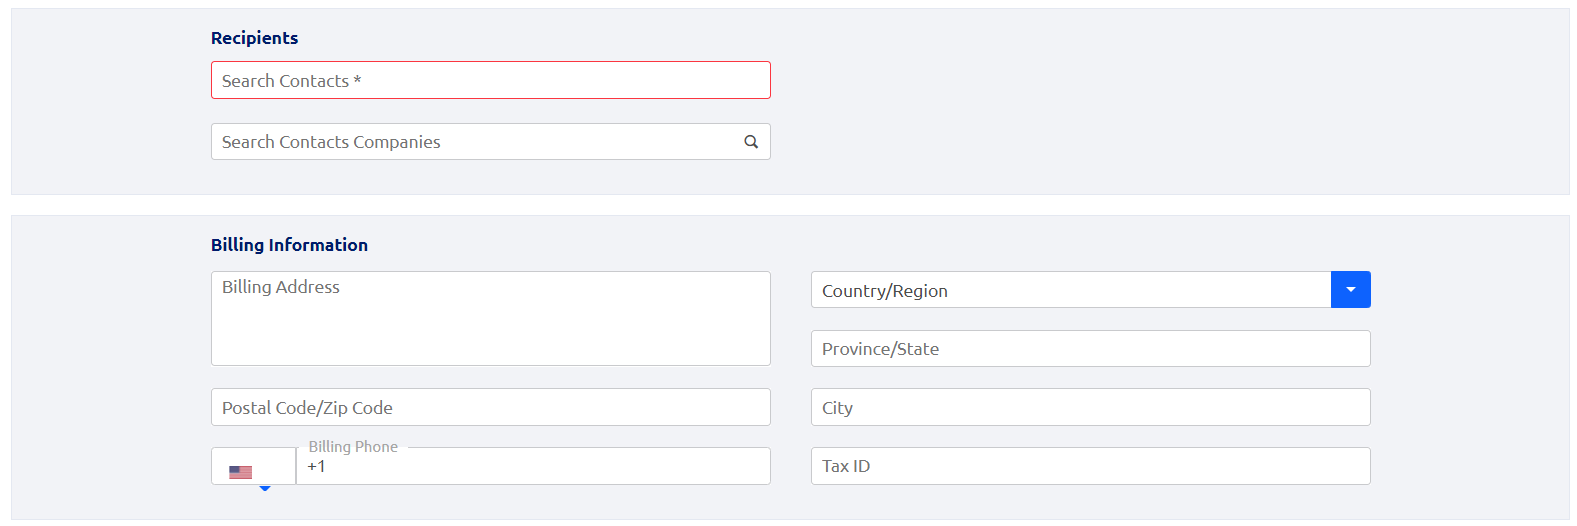
- Input the invoice recipient and enter the appropriate billing information. You can choose a recipient by searching for an existing CRM contact or adding a new one. The billing information will appear on the invoice.

- Select the appropriate currency for the invoice as well as the invoice issue and due dates. You will only see the currencies that you have selected in the currency settings section of the platform.

- Select the payment methods supported for this invoice. There are two general types of payment on the platform: online payment and offline payment. Offline payment includes payment by cash, check, and bank transfer. Online payment changes the status of the invoice automatically from open to paid, whereas for offline payment methods, the status of the invoice needs to be manually updated.

- Enter billed item(s) information as necessary. You will be able to add additional items to the invoice after creating the draft.

- Add any attachments or notes if needed.

- Click on the Save button. This will create a draft invoice. At this point, you can add additional items, make necessary alterations if necessary, download the draft invoice as a PDF file or delete the draft.
- When ready, you can click on the Approve Draft button to issue the invoice. In the following prompt, you can choose whether to send out the invoice automatically via email. After the invoice has been approved, you will no longer be able to delete the invoice from the system. It can only be paid or voided.

ℹ
Note: The invoice number will only be assigned when the invoice is issued. Once assigned, this number cannot be changed.
Updating Custom Invoice Statuses
For online payments, the invoice status changes from open to paid automatically, but for offline payment methods (i.e., payment by cash, check, and bank transfer), this must be done manually.
To update the status of an invoice, click on the three-dots icon and select “Add Payment”. In the following prompt, choose the payment method, enter additional notes if necessary, and then click “Submit”. If you wish to disable sending an email notification for this action, make sure to check the box.


You can create Custom Invoice Categories as well. To learn more about Custom Invoice Categories please click here.
*Billed items are not limited to services provided through the Glue Up platform.


