Provide Professional Training Certifications Using Glue Up
Continuing professional development (CPD) or Continuing professional education (CPE) – is the ongoing process of developing, maintaining, and documenting professional skills.
Introduction to CPE/CPD Credits
Using this add-on feature, you can issue certifications for attendees of an event based on their check-in and check-out times. Step up your productivity and become more efficient in your educational programs by designing certificates, tracking attendance, and issuing and sending certificates all in the same place.
After purchasing this add-on feature, make sure your Customer Success Manager has activated it. You can design only one certificate for each event. To create a certificate for an event, first, select a draft or published event to enter the Event Management page and then click on Certificates under 05. Follow Up. Click on the green +Create CPD button and enter a title for this certificate. You can edit this title later.

Design a Certificate
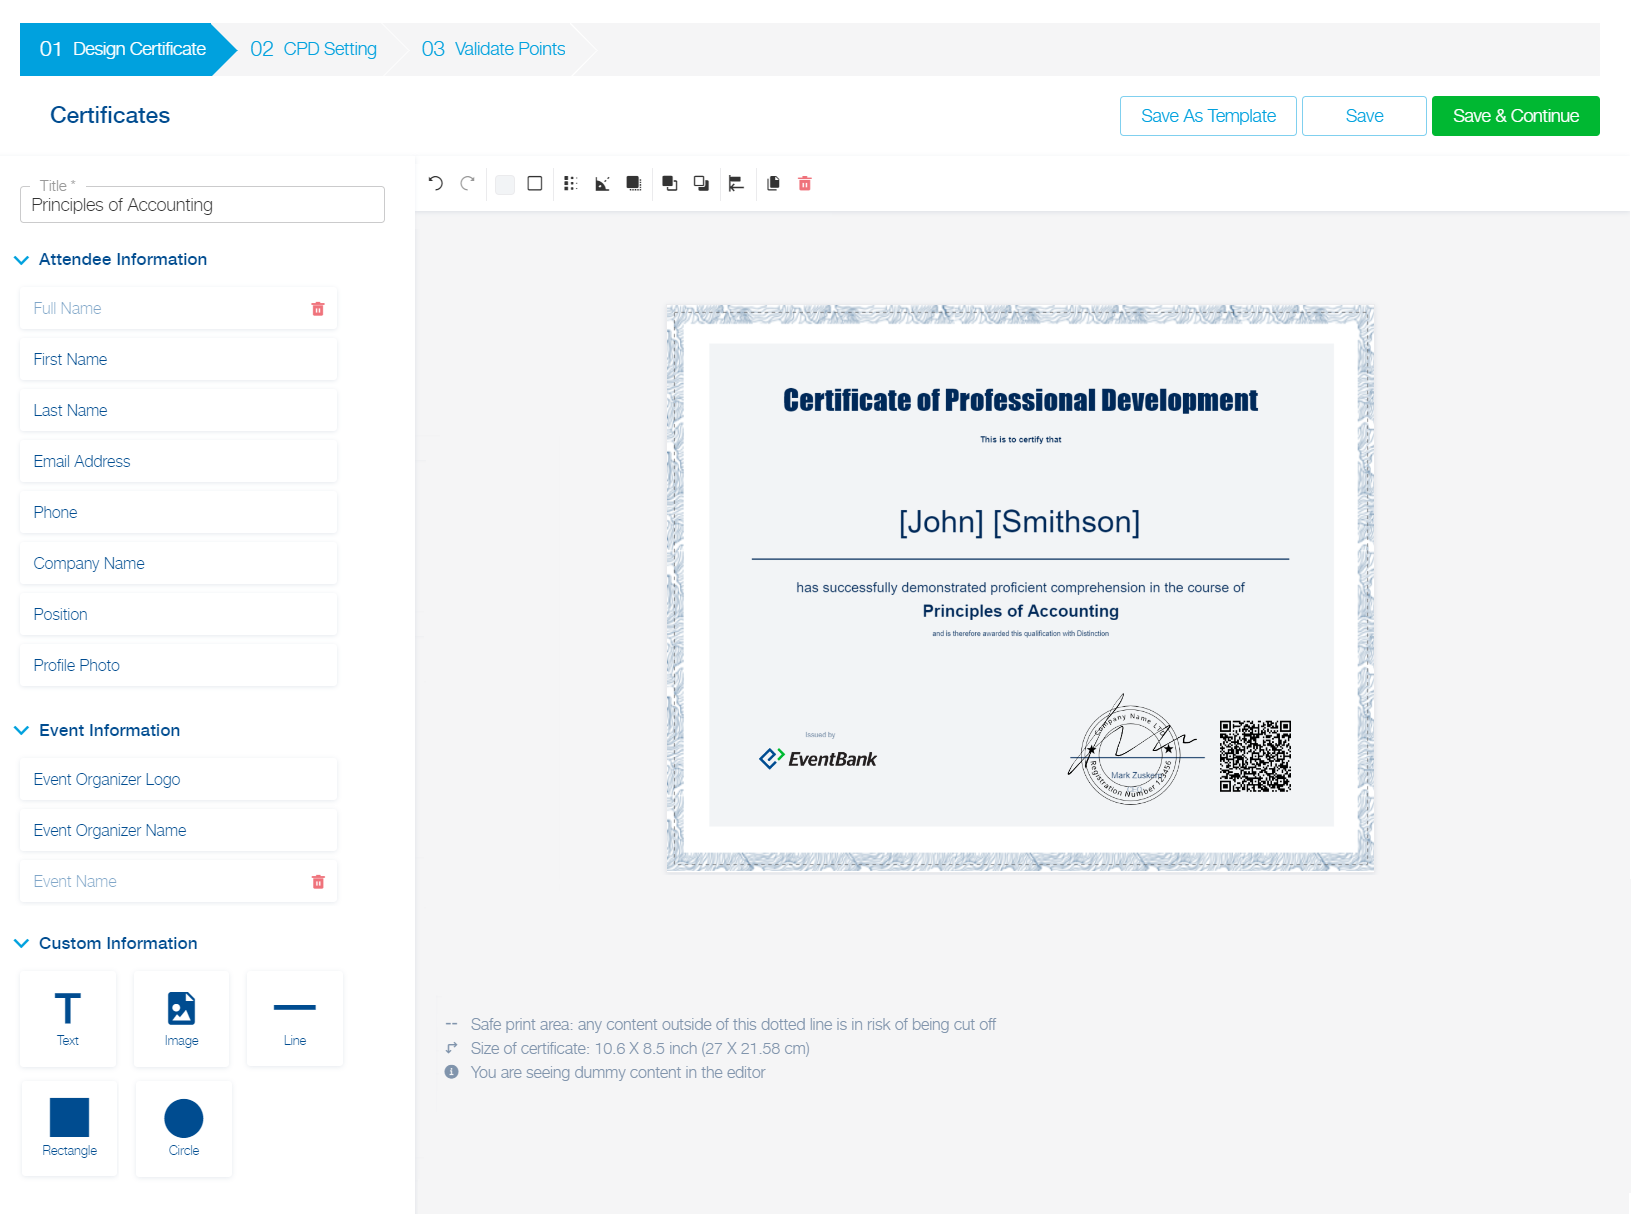
Certificates come in two sizes and orientations: Portrait (8.5 x 11 inches or 21 x 29 cm) and Landscape (10.6 x 8.5 inch or 27 x 21.58 cm). You can either use a default certificate design or create your own. To design your certificate from scratch, click on ‘Blank’ and then continue.
You would then need to select the details that you would like to display on the certificate. That includes:
- Attendee information – g., first name, last name, etc.
- Event information – details about the event
- Custom information – text, images, shapes, etc.
You can save a design to use for your future events by clicking on ‘Save as Template’. For more design tips, read this article about badge design, which uses the same editor tool. Once you have designed your certificate, click on Save & Continue.
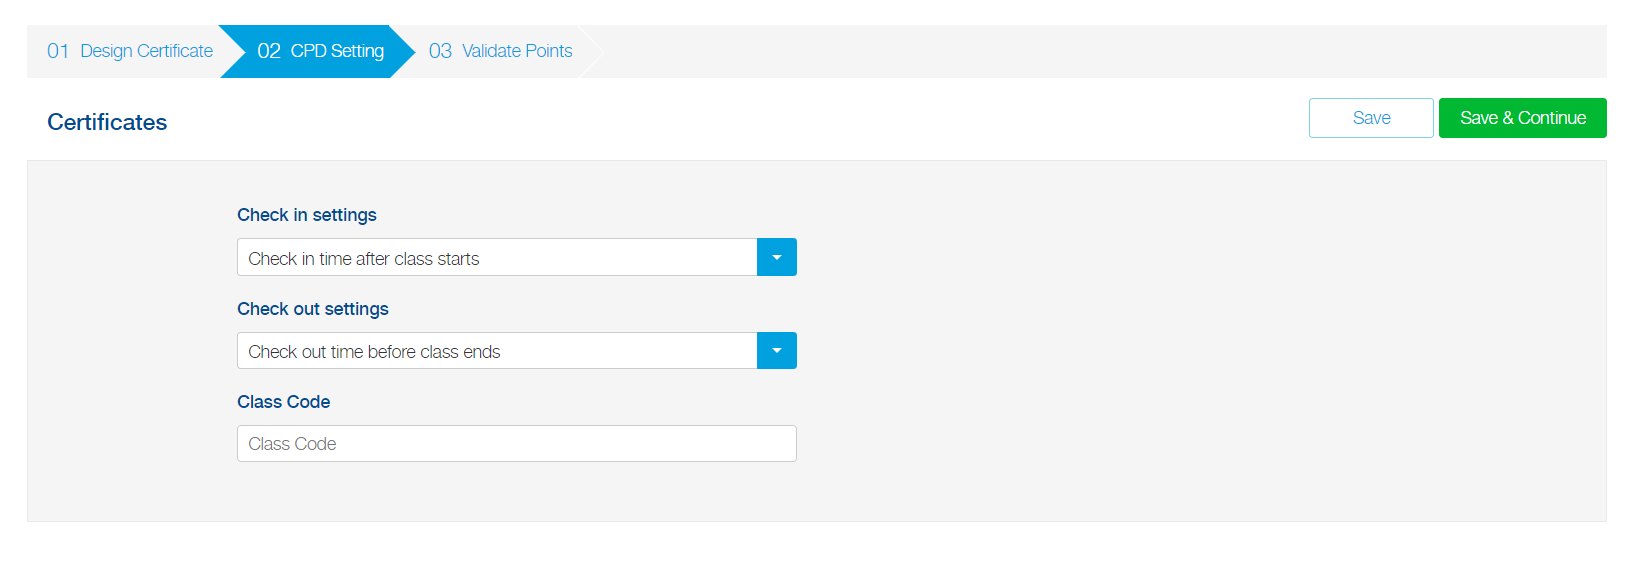
CPD Settings
In this step, you will set up the latest check-in time and the earliest check-out time for the attendees to qualify for the certificate. Check-ins start 48 hours before the event and finish seven days after.
Validate Points
In this section, you can see a list of all registered attendees. You can search for an attendee, filter the list or manage what details to see on the list.
Under the ‘CPD Status’ column, all attendees are automatically classified according to their check-in and check-out times. The classifications are as follows:
- Unqualified – the attendee is not eligible for a certificate based on their check-in/check-out time. You can view the registration details of the attendee, their profile details and edit their check-in/check-out time by clicking on the three-dot action button.
- Awaiting Approval – the attendee qualifies for a certificate. You can approve their CPD status by clicking on the three-dot action button.
- Approved – You have validated their CPD points, but the certificate has not been sent yet. You can send out the CPD certificate by clicking on the three-dot action button.
- Sent – the certificate has been sent. You can preview the certificate or resend it at any time by clicking on the three-dot action button.
How to add check-in/check-out time?
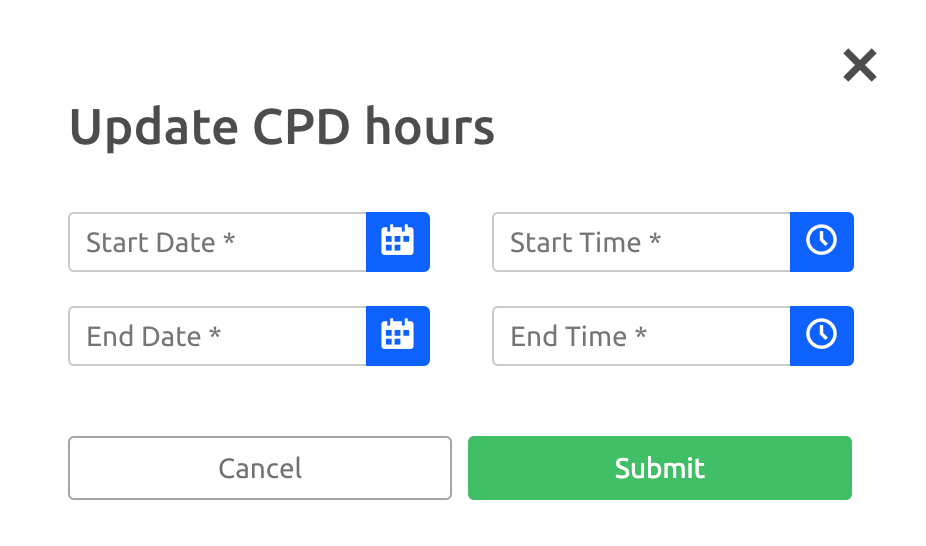
- Click on the three-dot action button and select ‘Edit’.

- Add the start and end date/time.
- Click ‘Submit’.
- At this point, the CPD status of the attendee will change to ‘Awaiting Approval’. Click on the three-dot action button again and then select ‘Approve CPD Hours’.

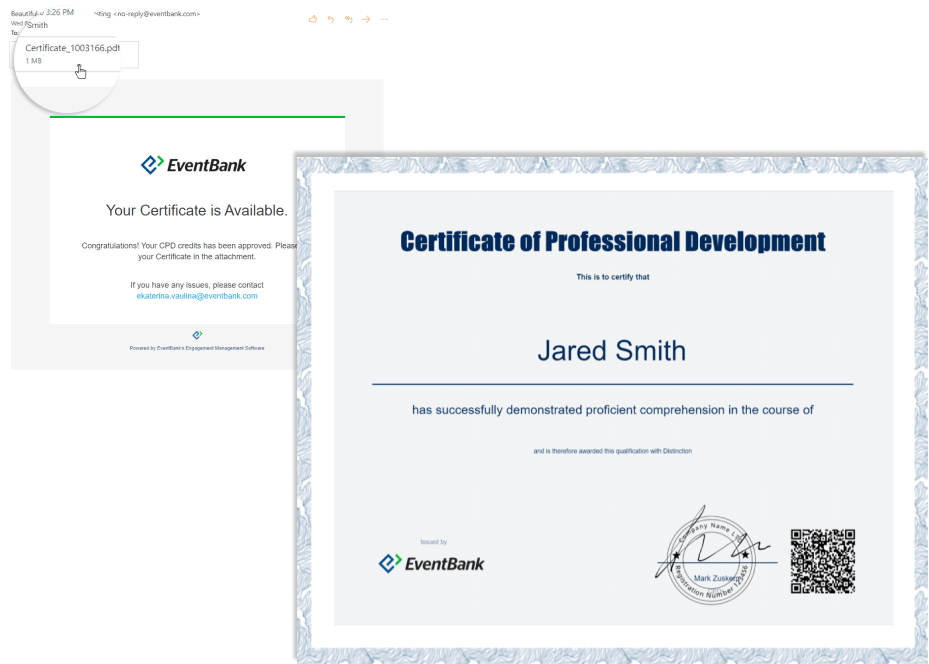
- Once you click on ‘Approve’, the certificate will be sent out to the attendee via email as a PDF attachment.